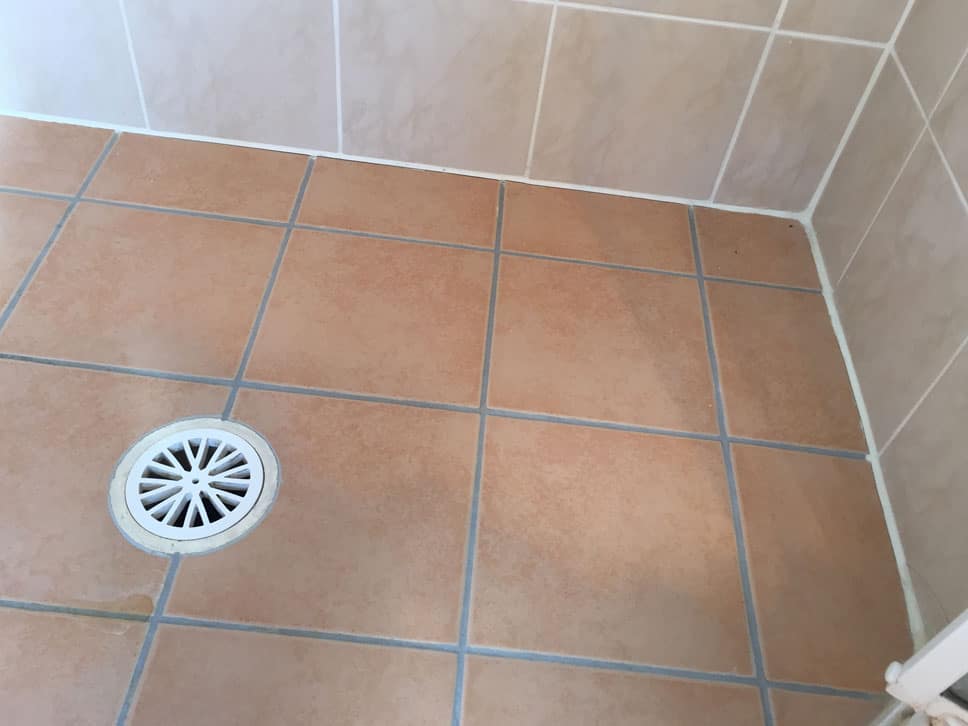
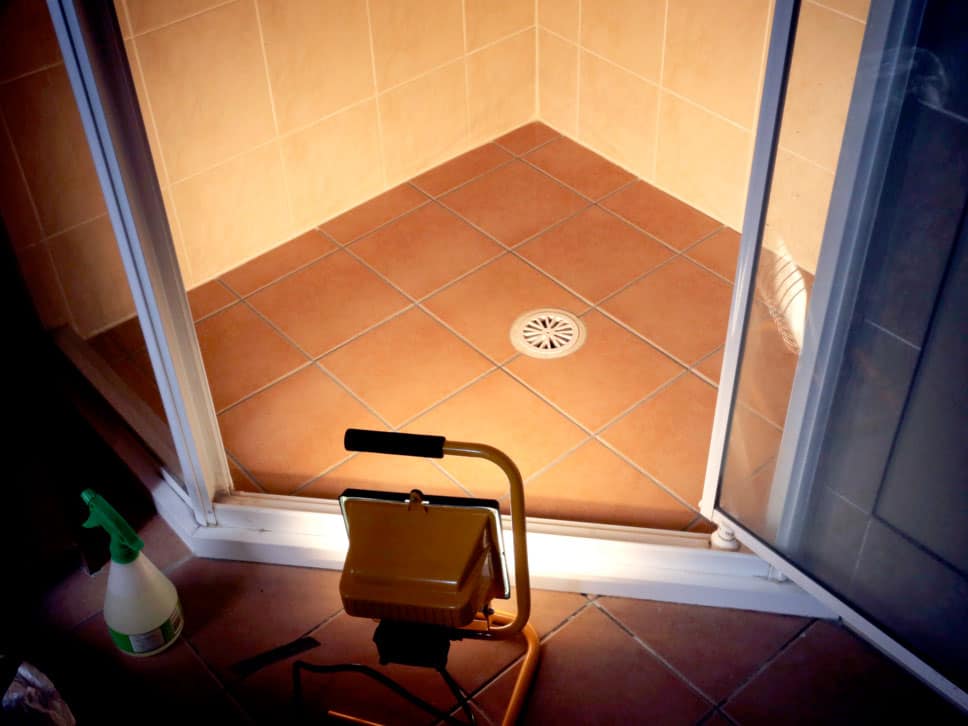
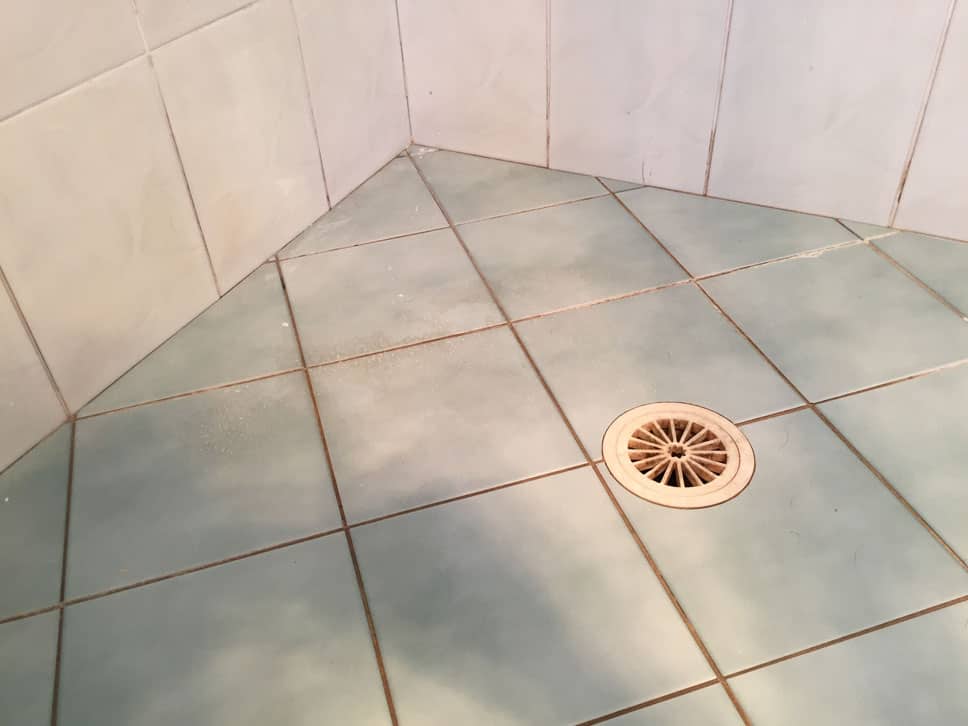
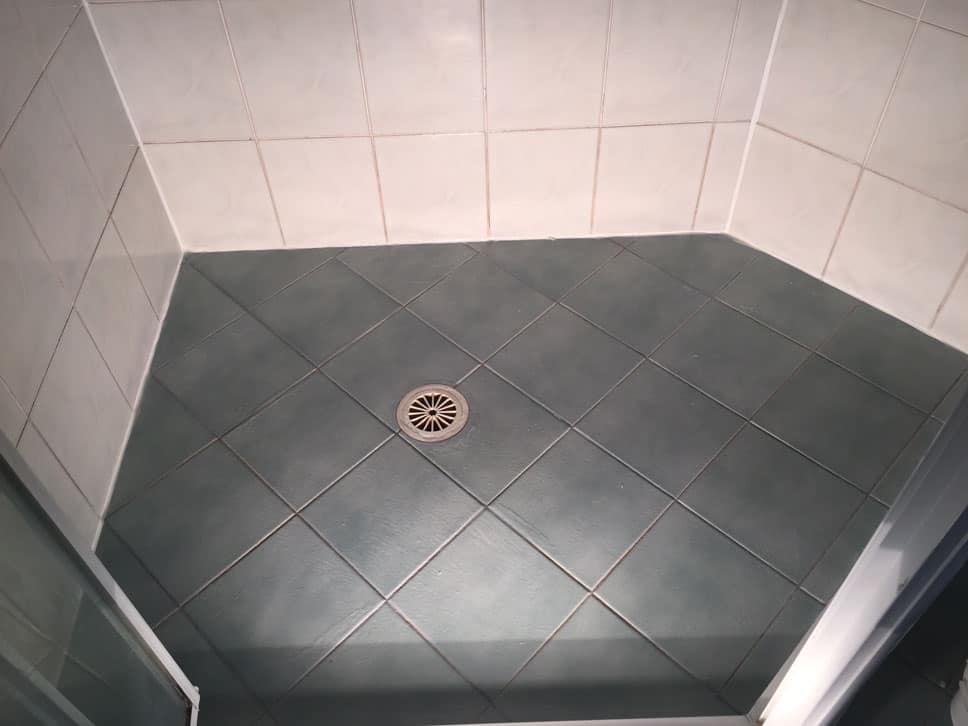
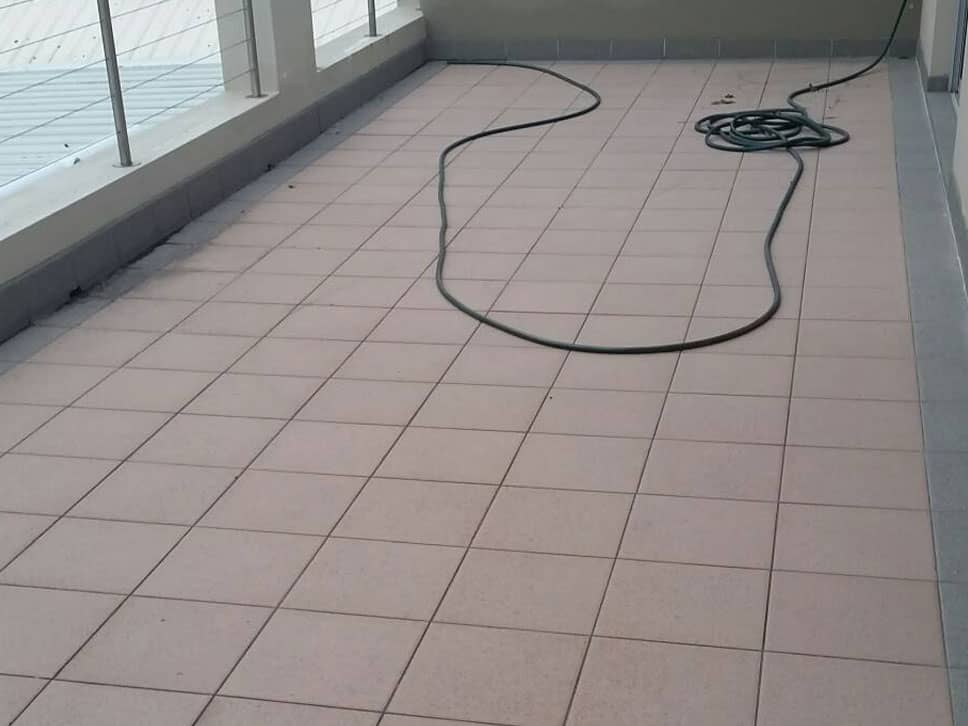
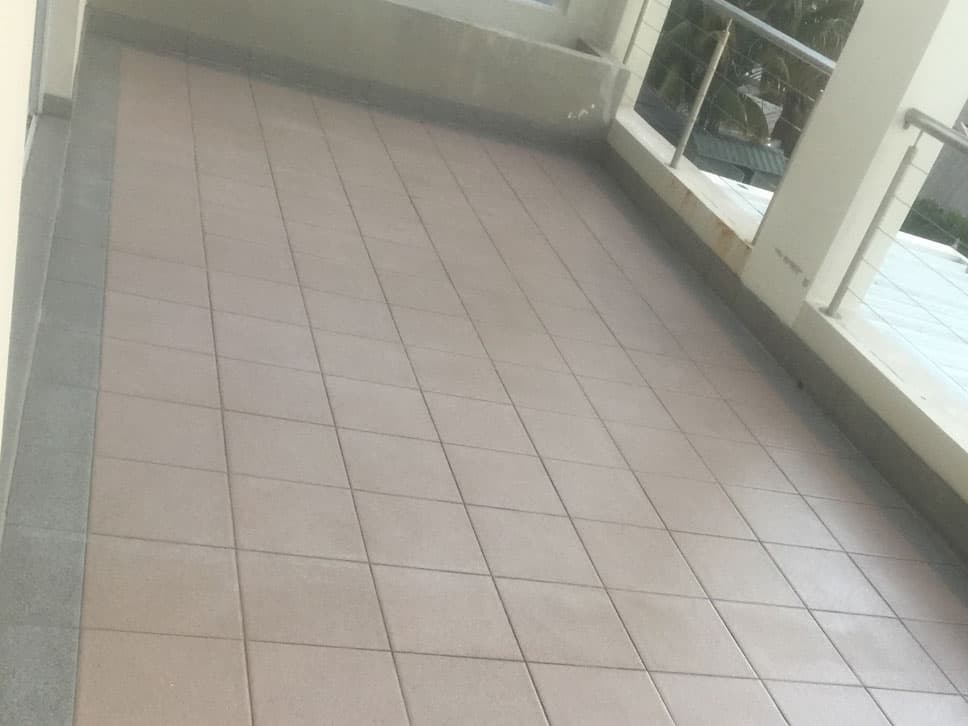
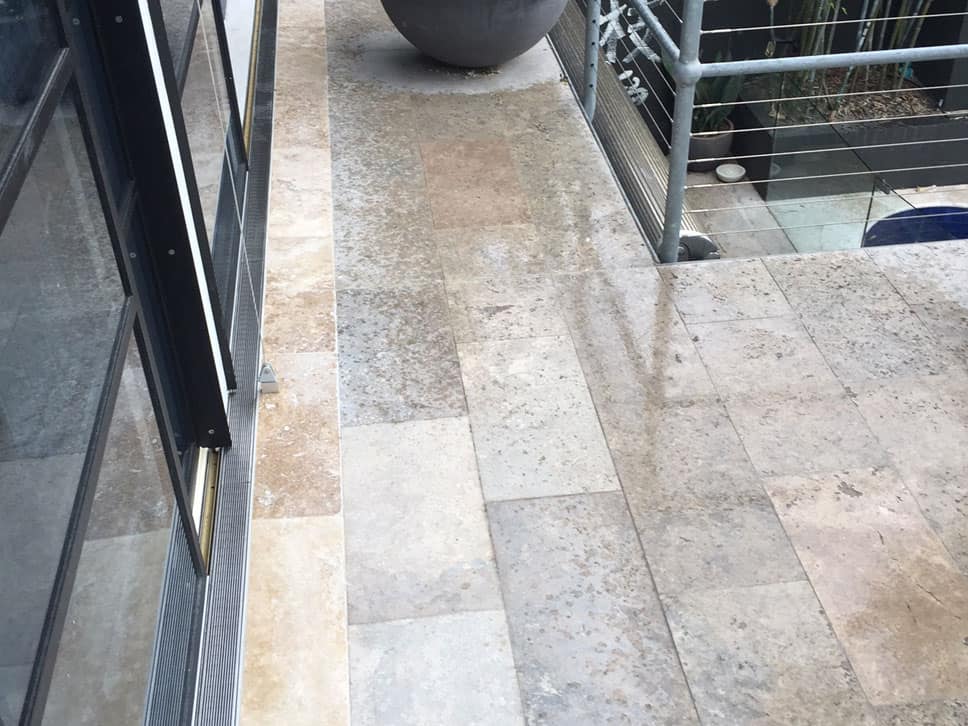
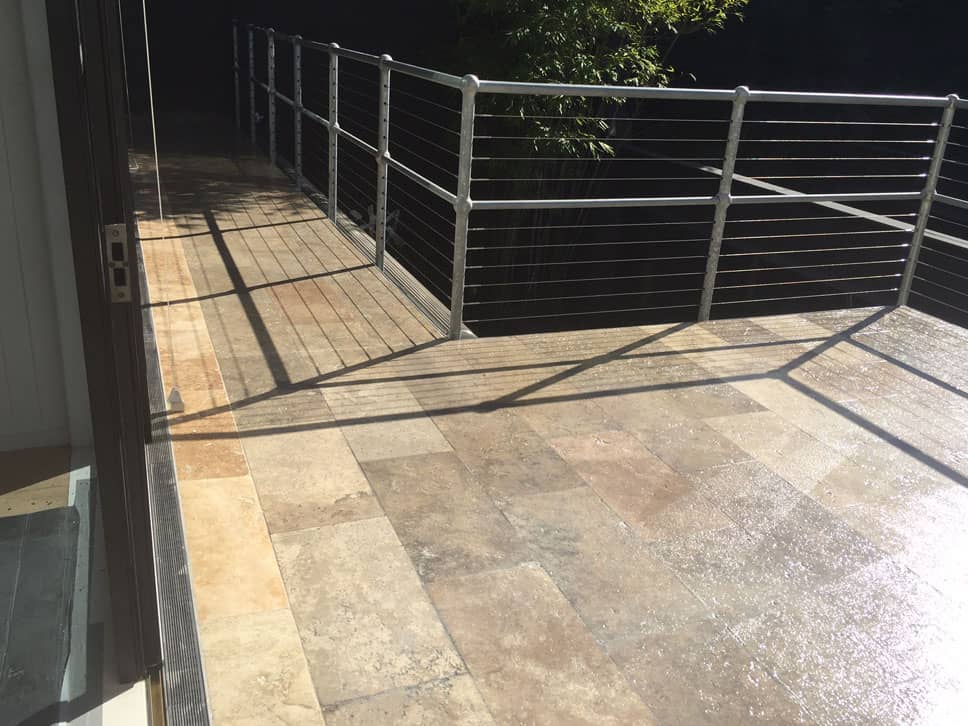
Remedial Membranes’ Clear Waterproofing Membranes is suitable on both internal and external tiles. When applied to gloss tiles, it is very difficult to tell where the membrane has been applied to. When applied to matt finish tiles, it brings out the tiles’ color a little more like a wet look. If you are interested in getting a sample application performed, contact us on info@remedialmembranes.com
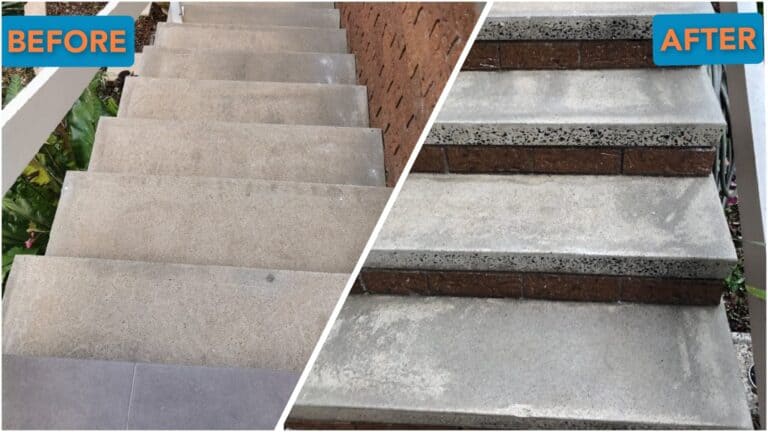
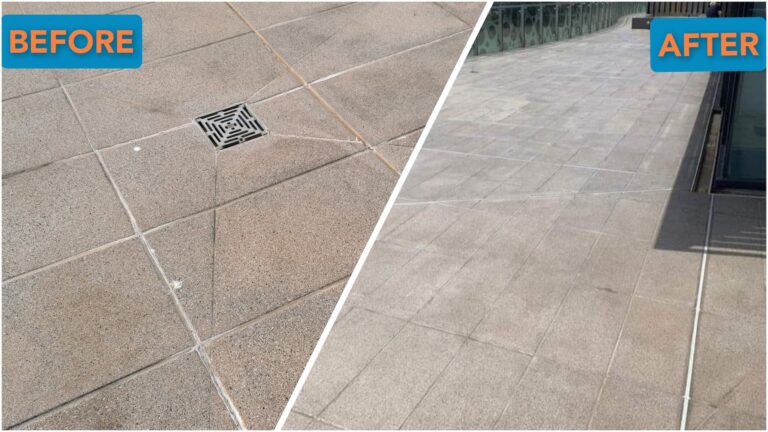
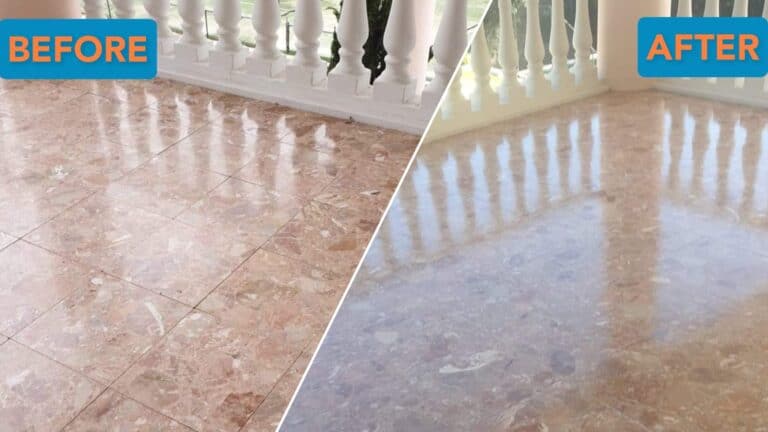
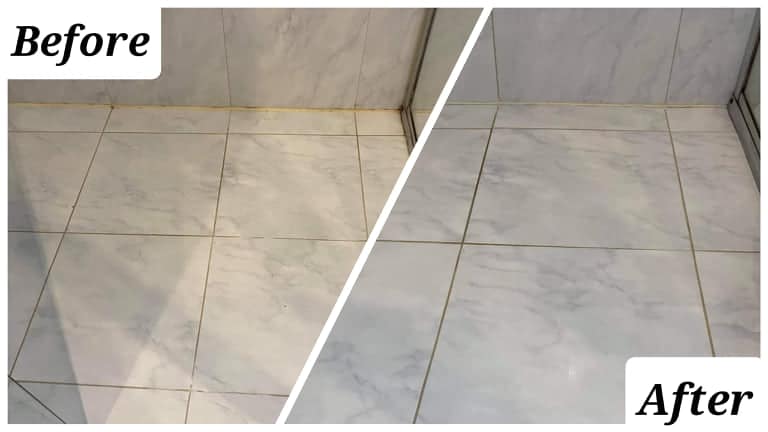
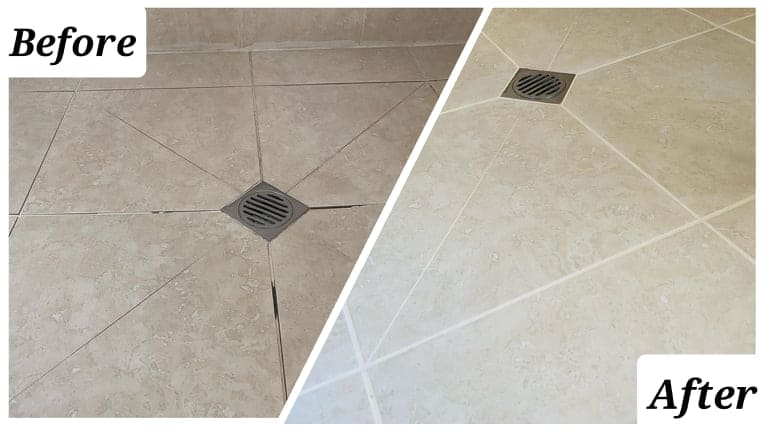
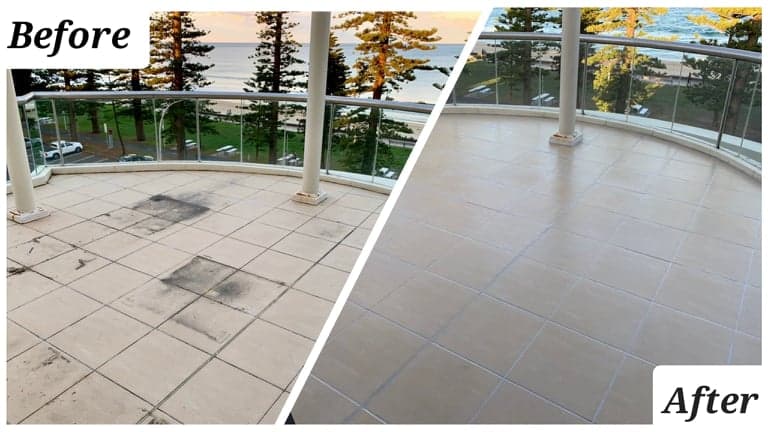
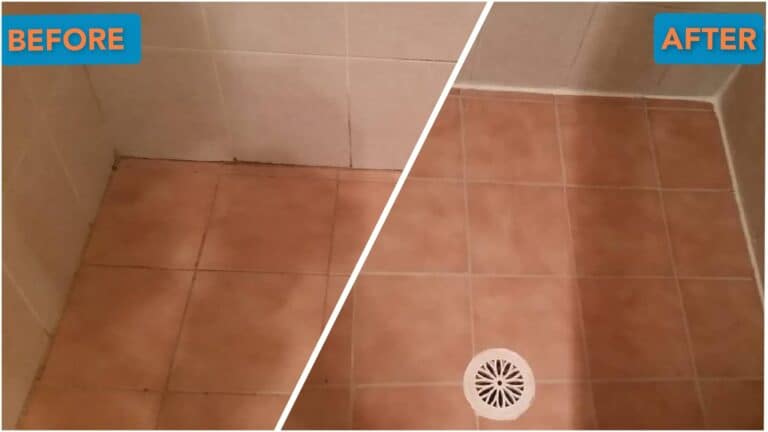
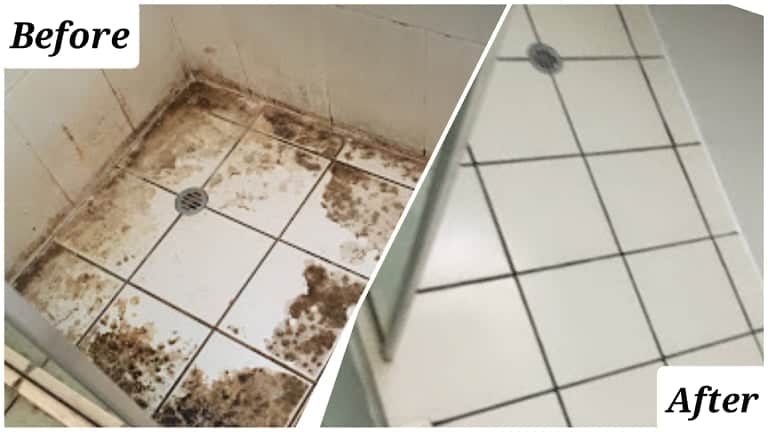
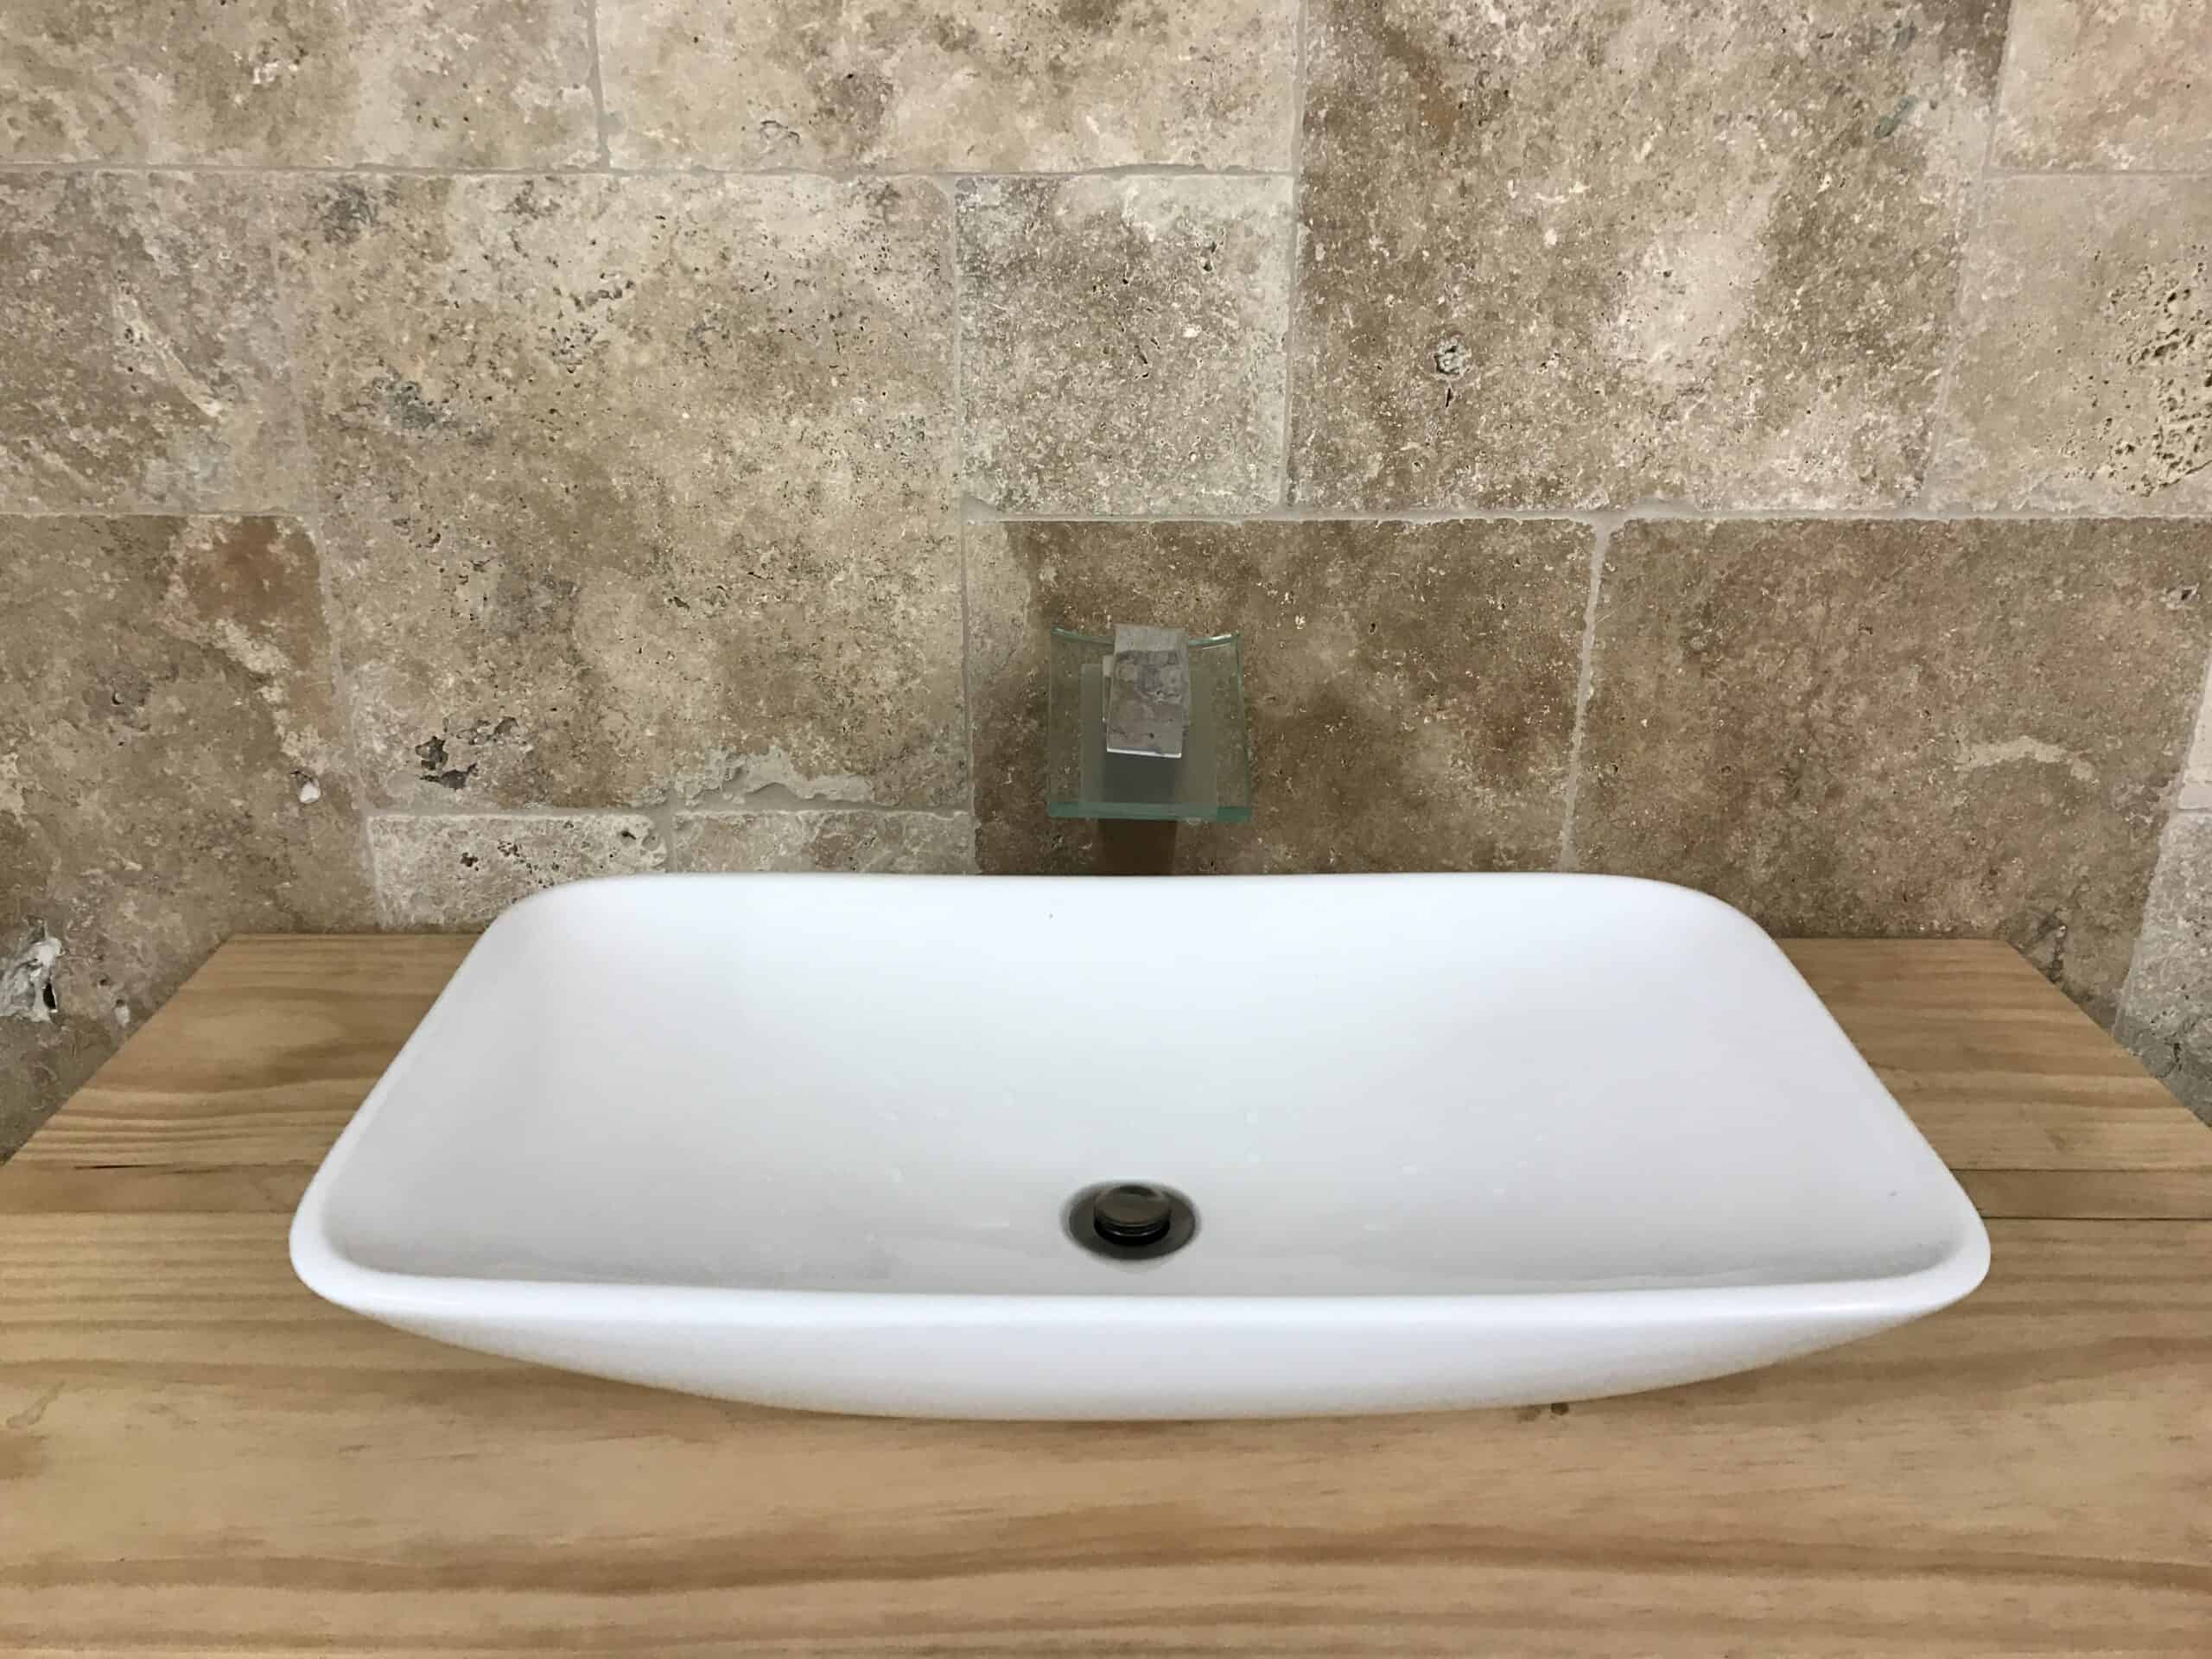
This client had a natural stone bathroom and wanted to use natural materials, a custom pine vanity was constructed, and Clear Waterproofing Membrane used to protect the material and the finish.
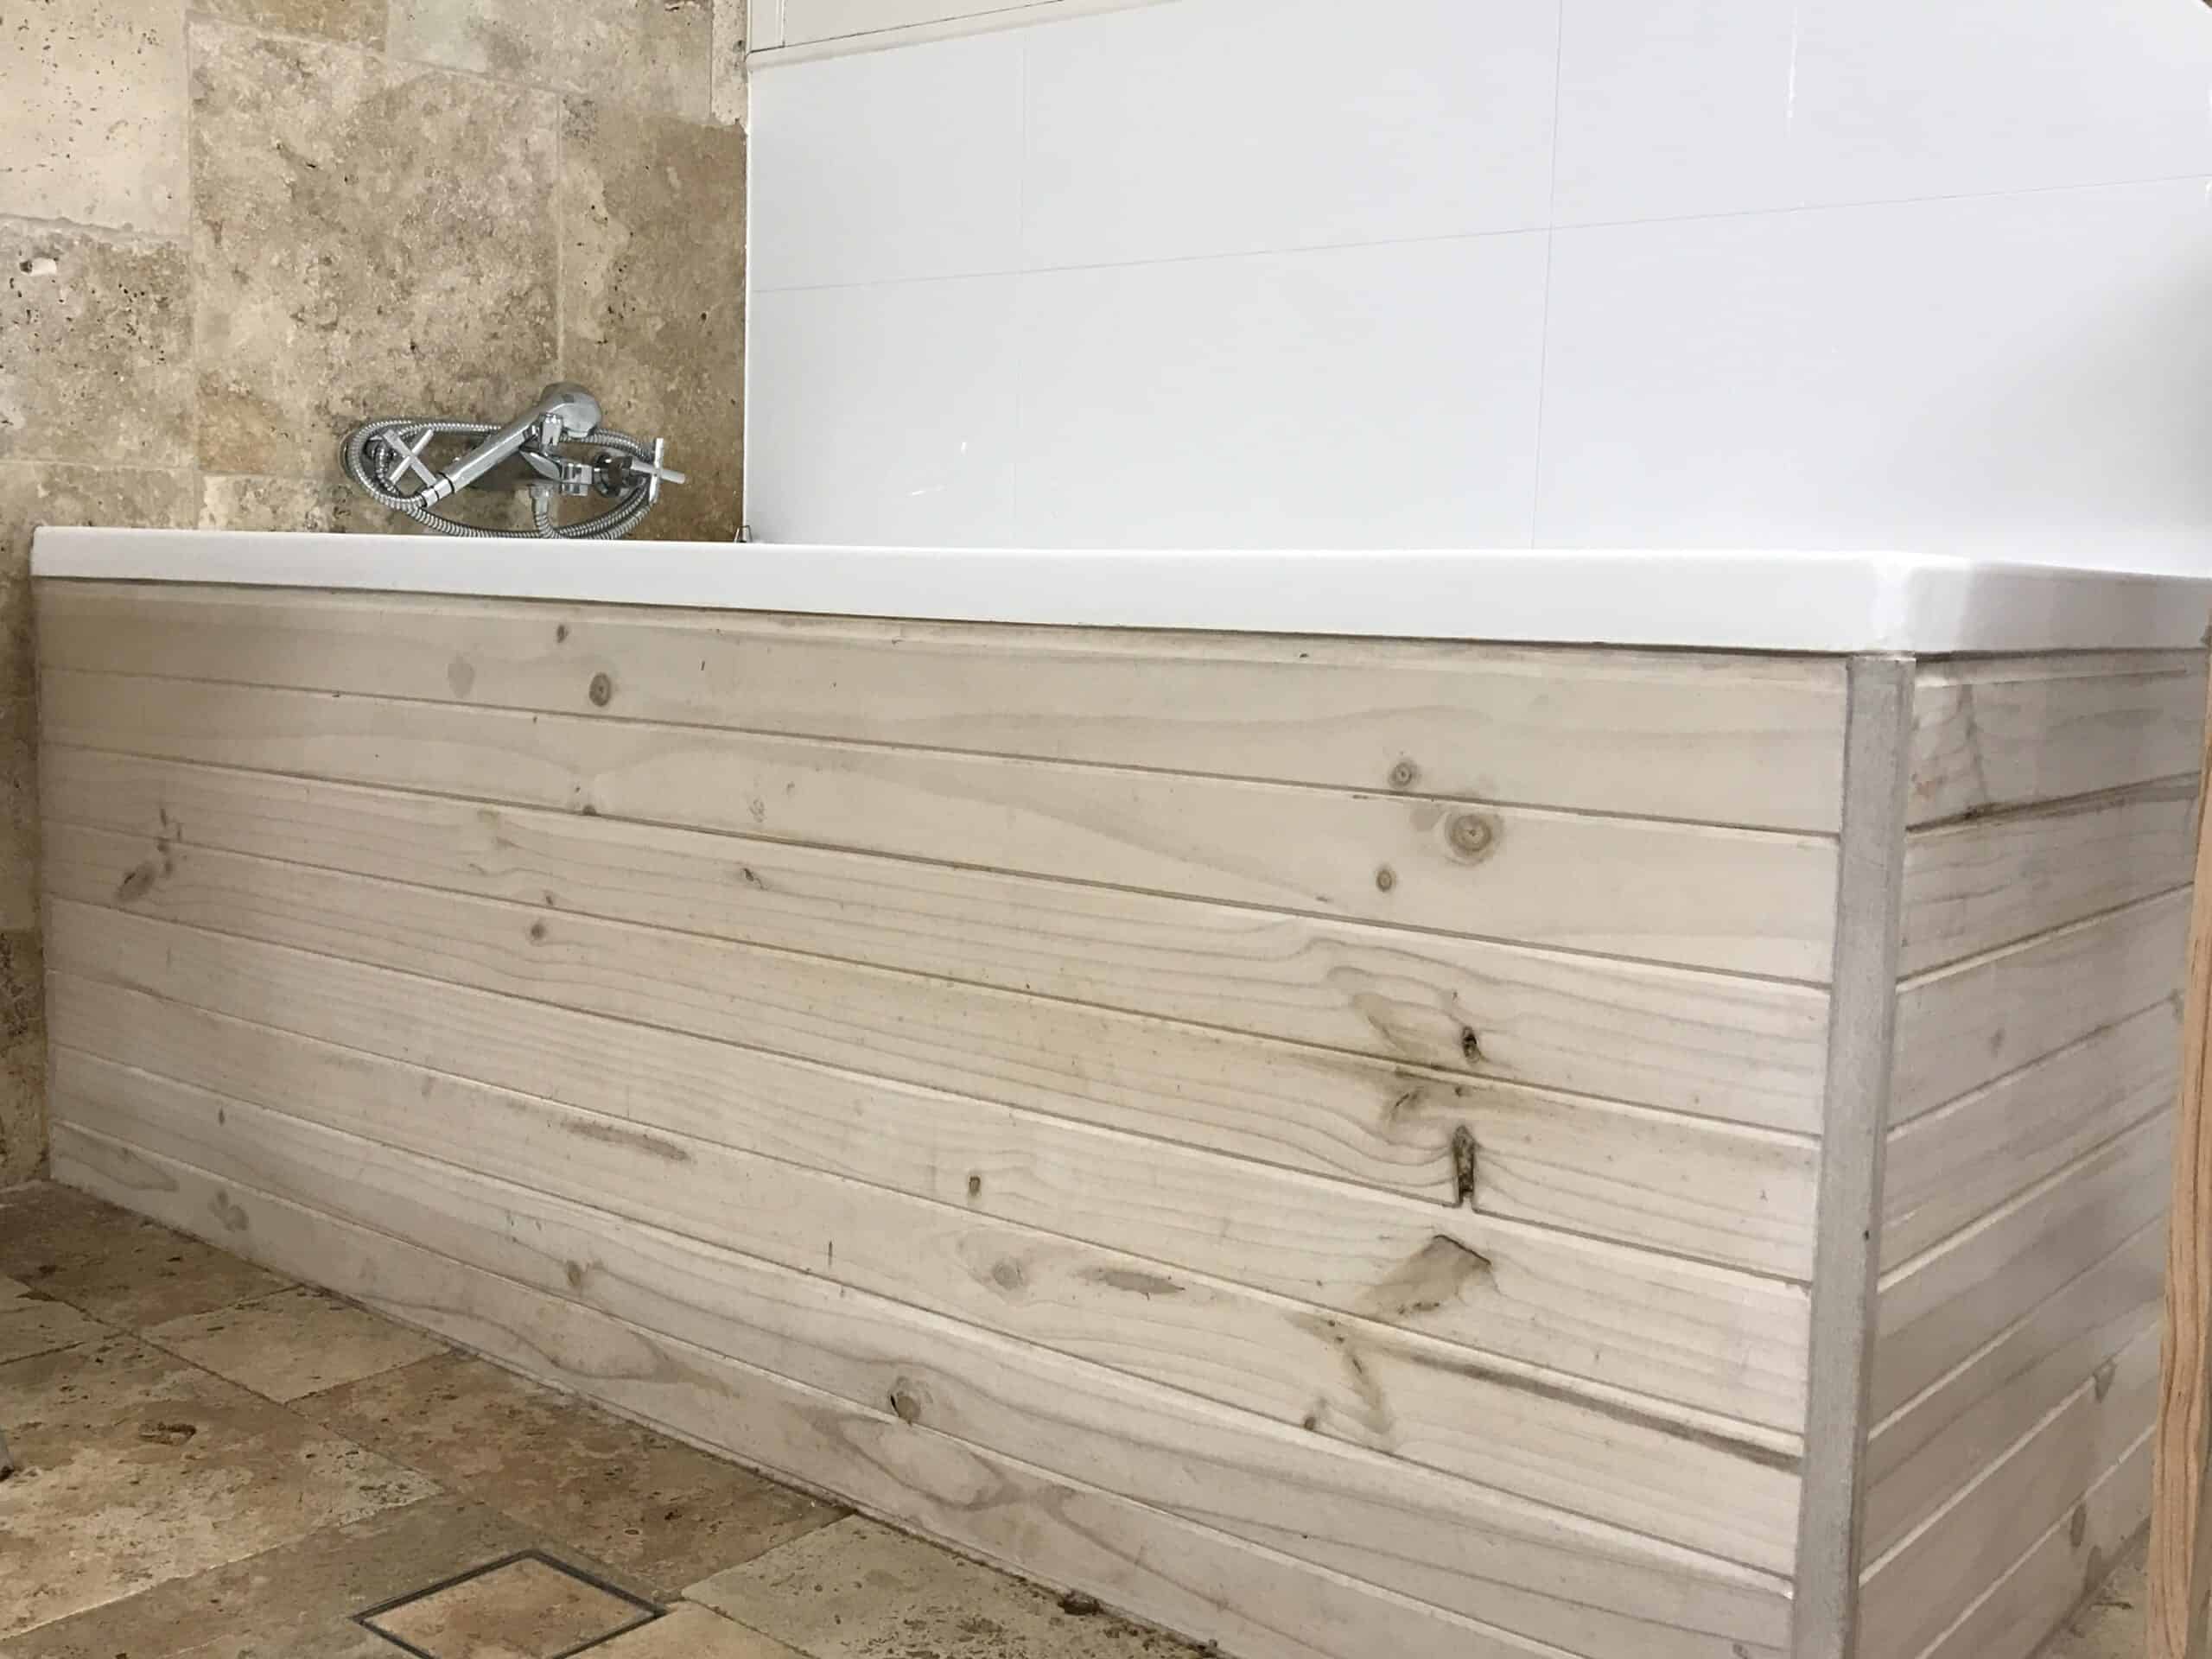
Don’t want tiles everywhere? Now you don’t have to. Use whitewashed pine waterproofed with Clear Waterproofing Membrane on your bath return to create a feature in your bathroom.
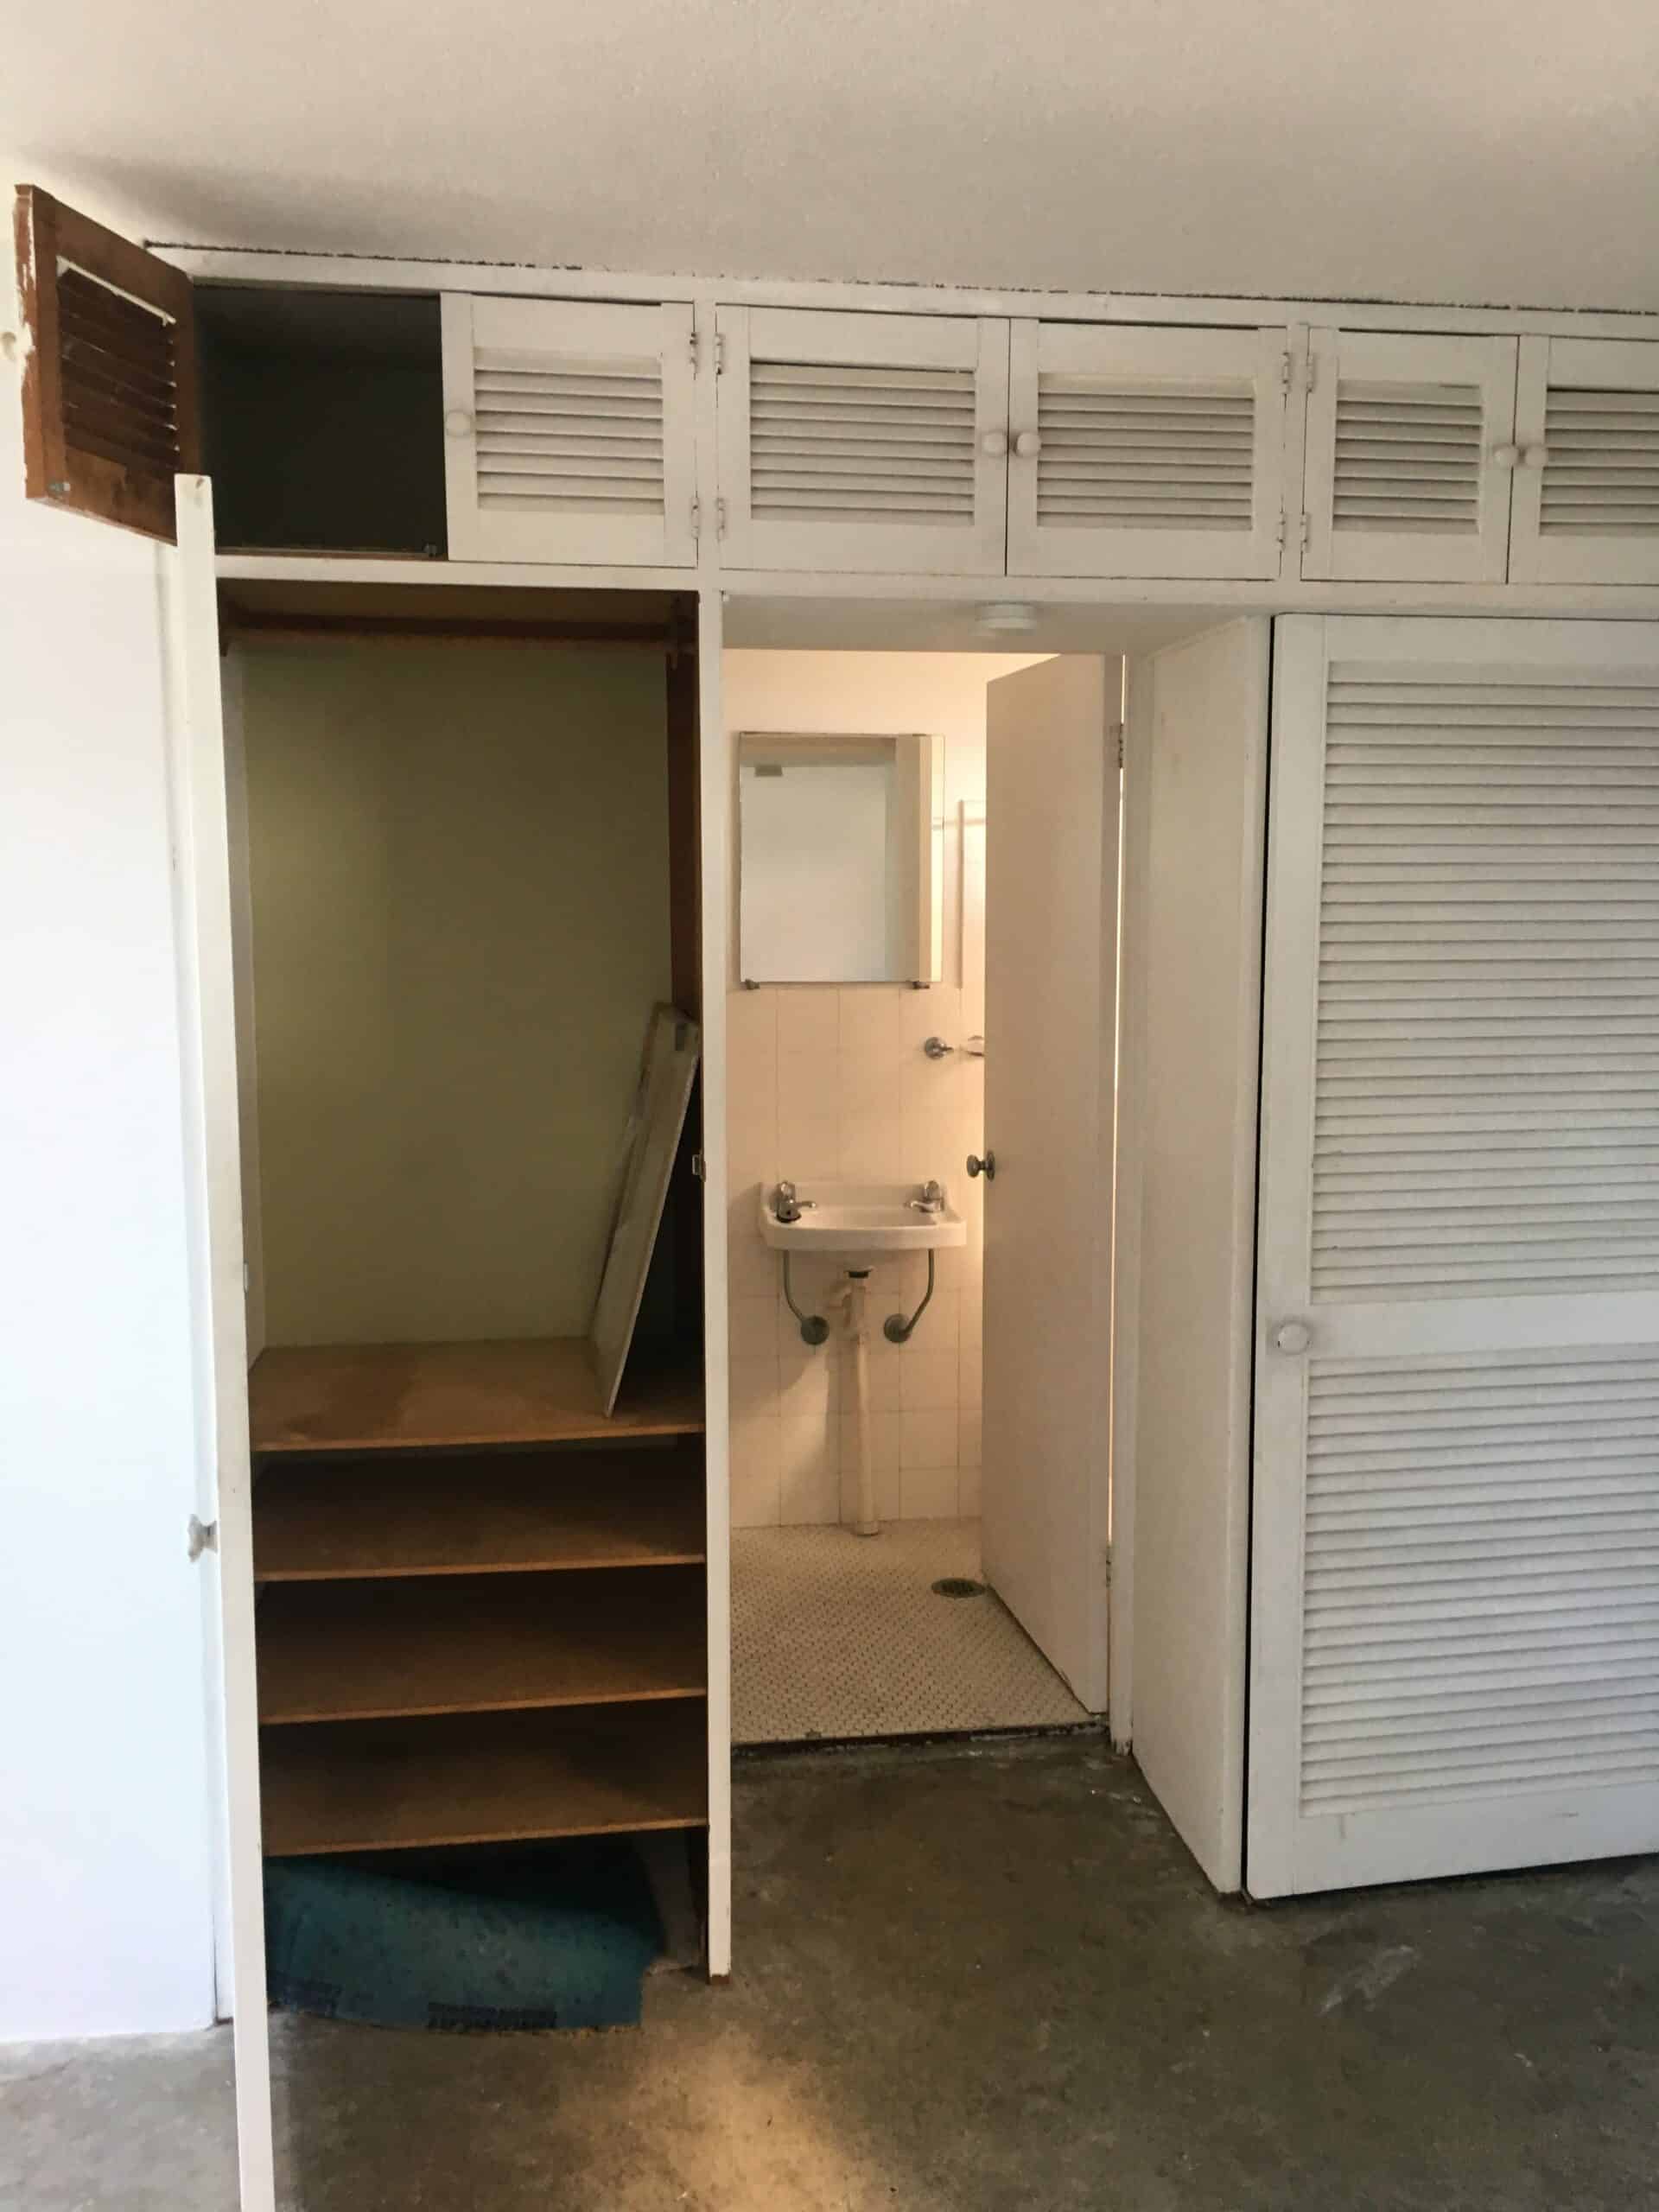
By Design Projects asked by their client to provide a polished concrete finish in their bathroom. The bathroom was already very small, how did By Design Projects raise to the challenge? They used FC sheeting adhered to the existing walls, which were waterproofed with Clear Waterproofing Membrane.
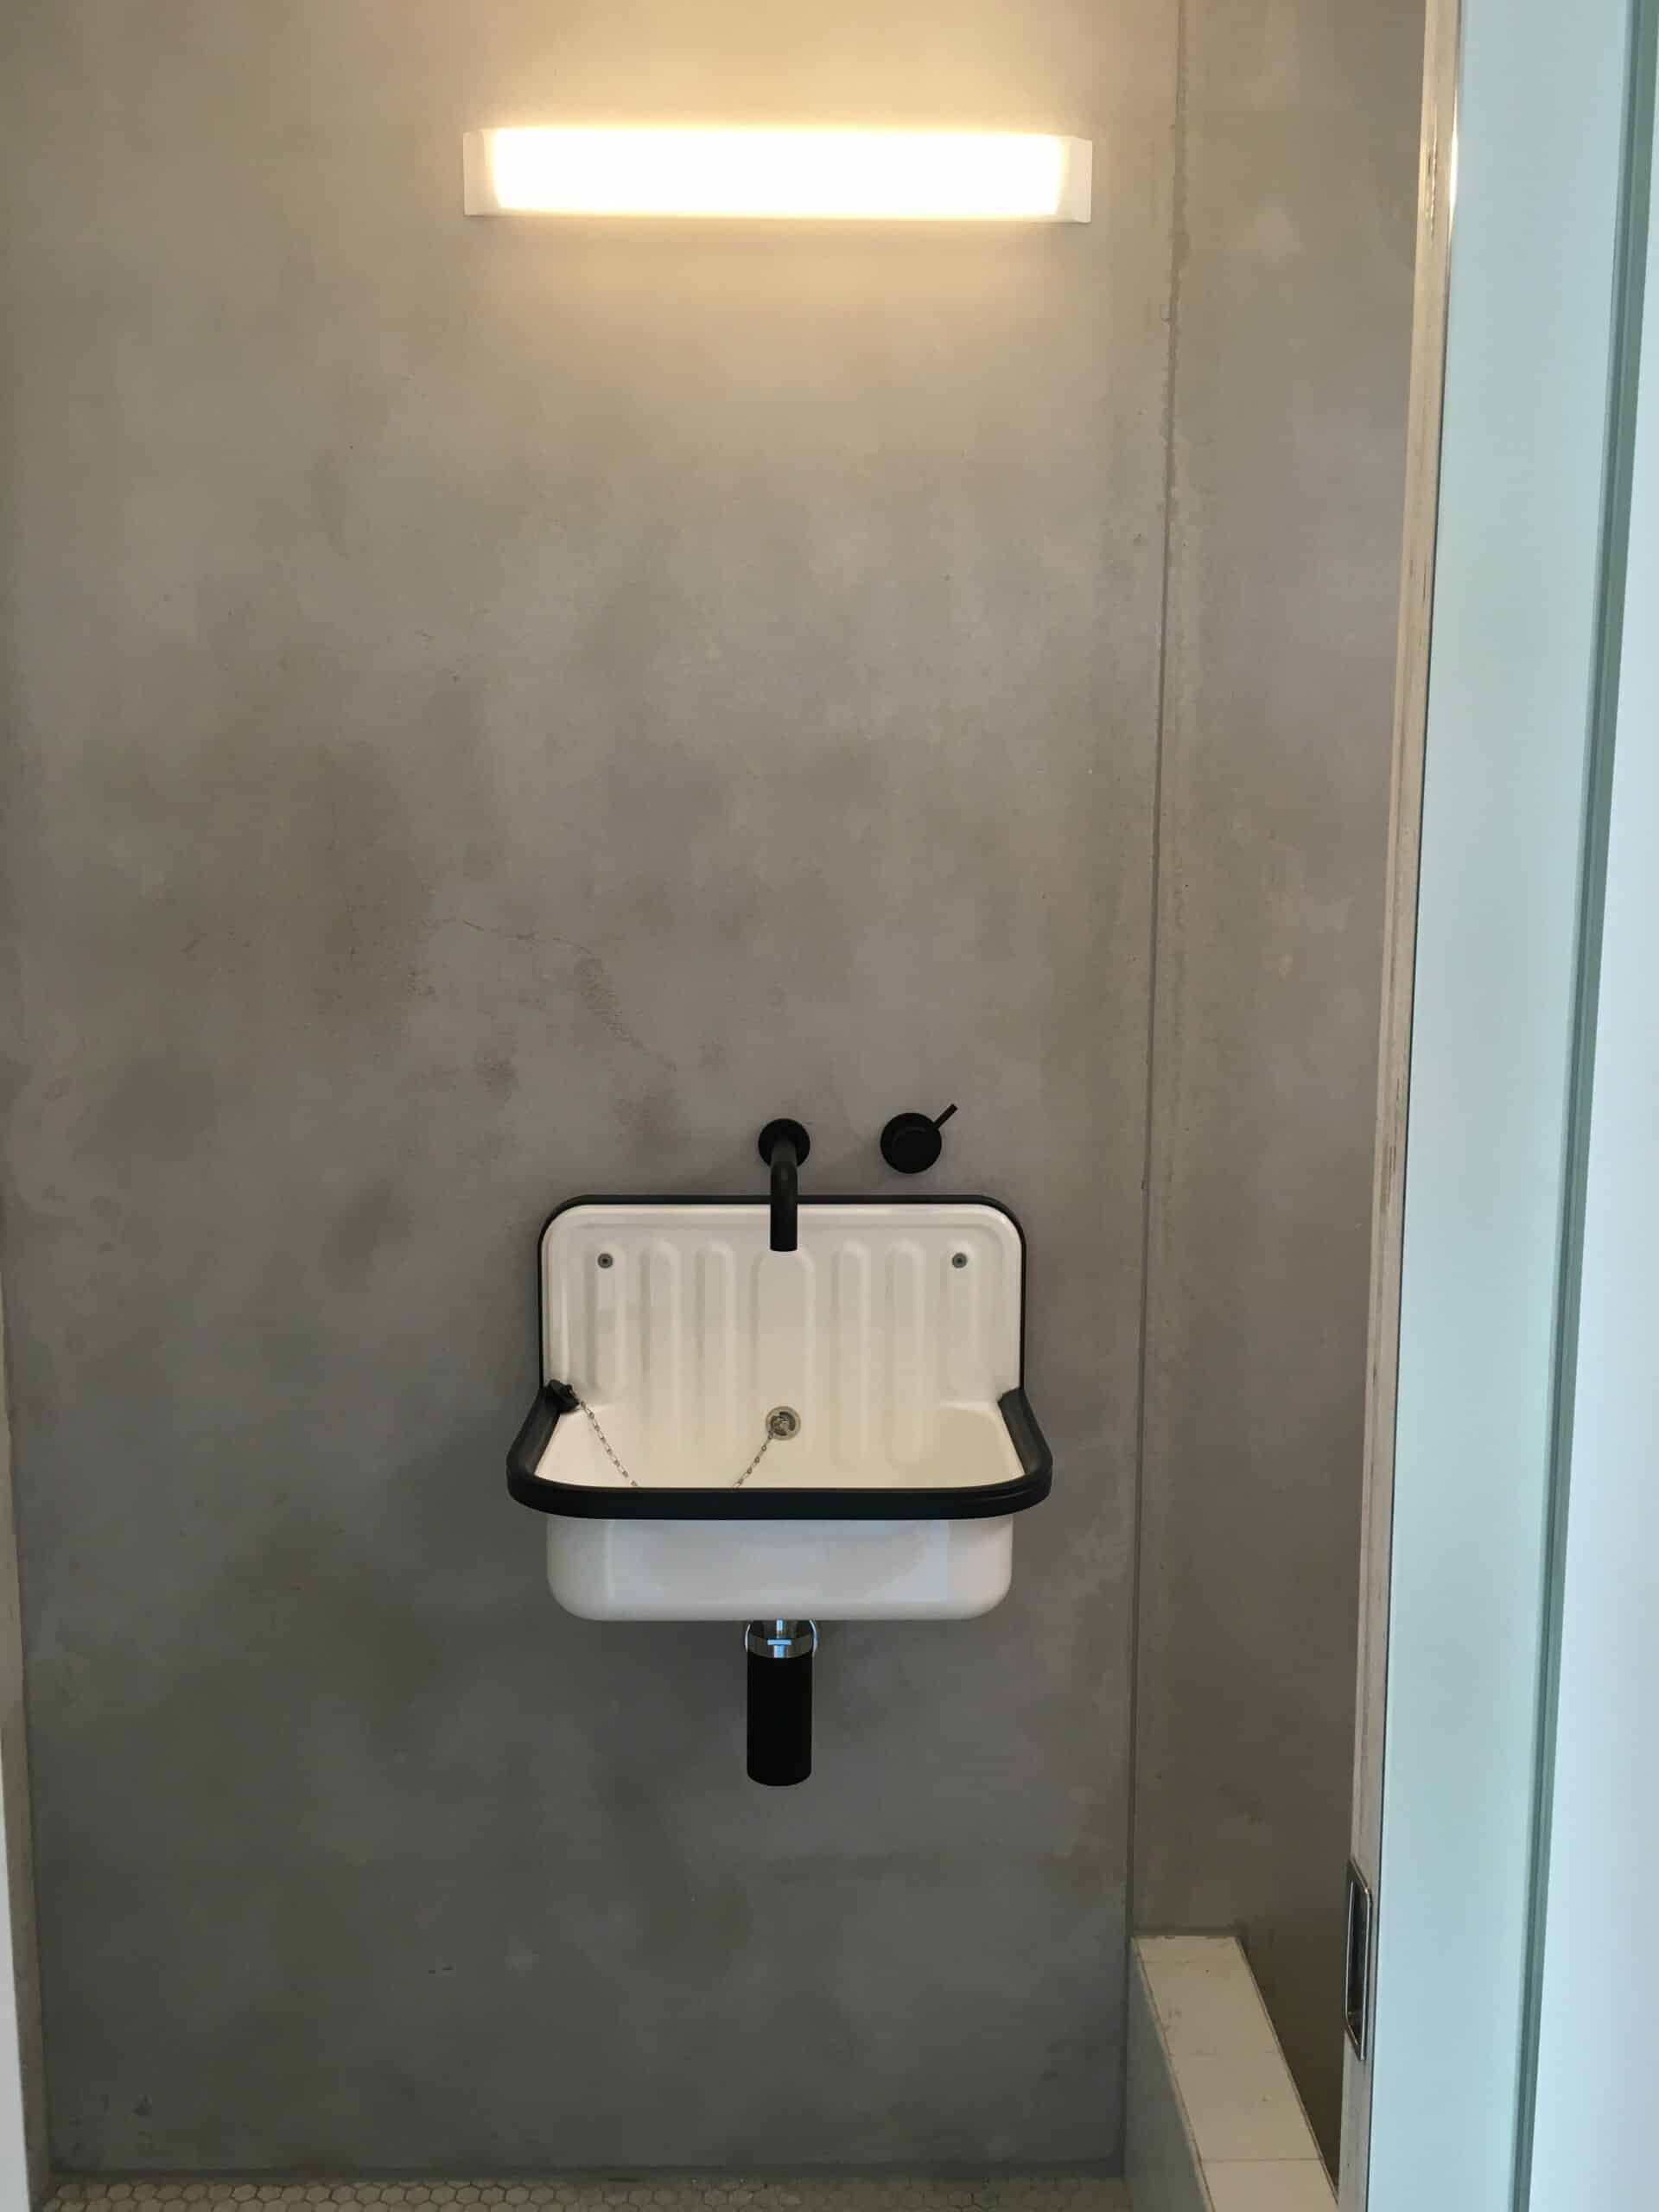
The after image speaks for itself! By using Clear Waterproofing Membrane on the FC sheeting, they were able to create a polished concrete look to fulfil the customer’s brief and bring the bathroom into 2016 using a relatively inexpensive process.
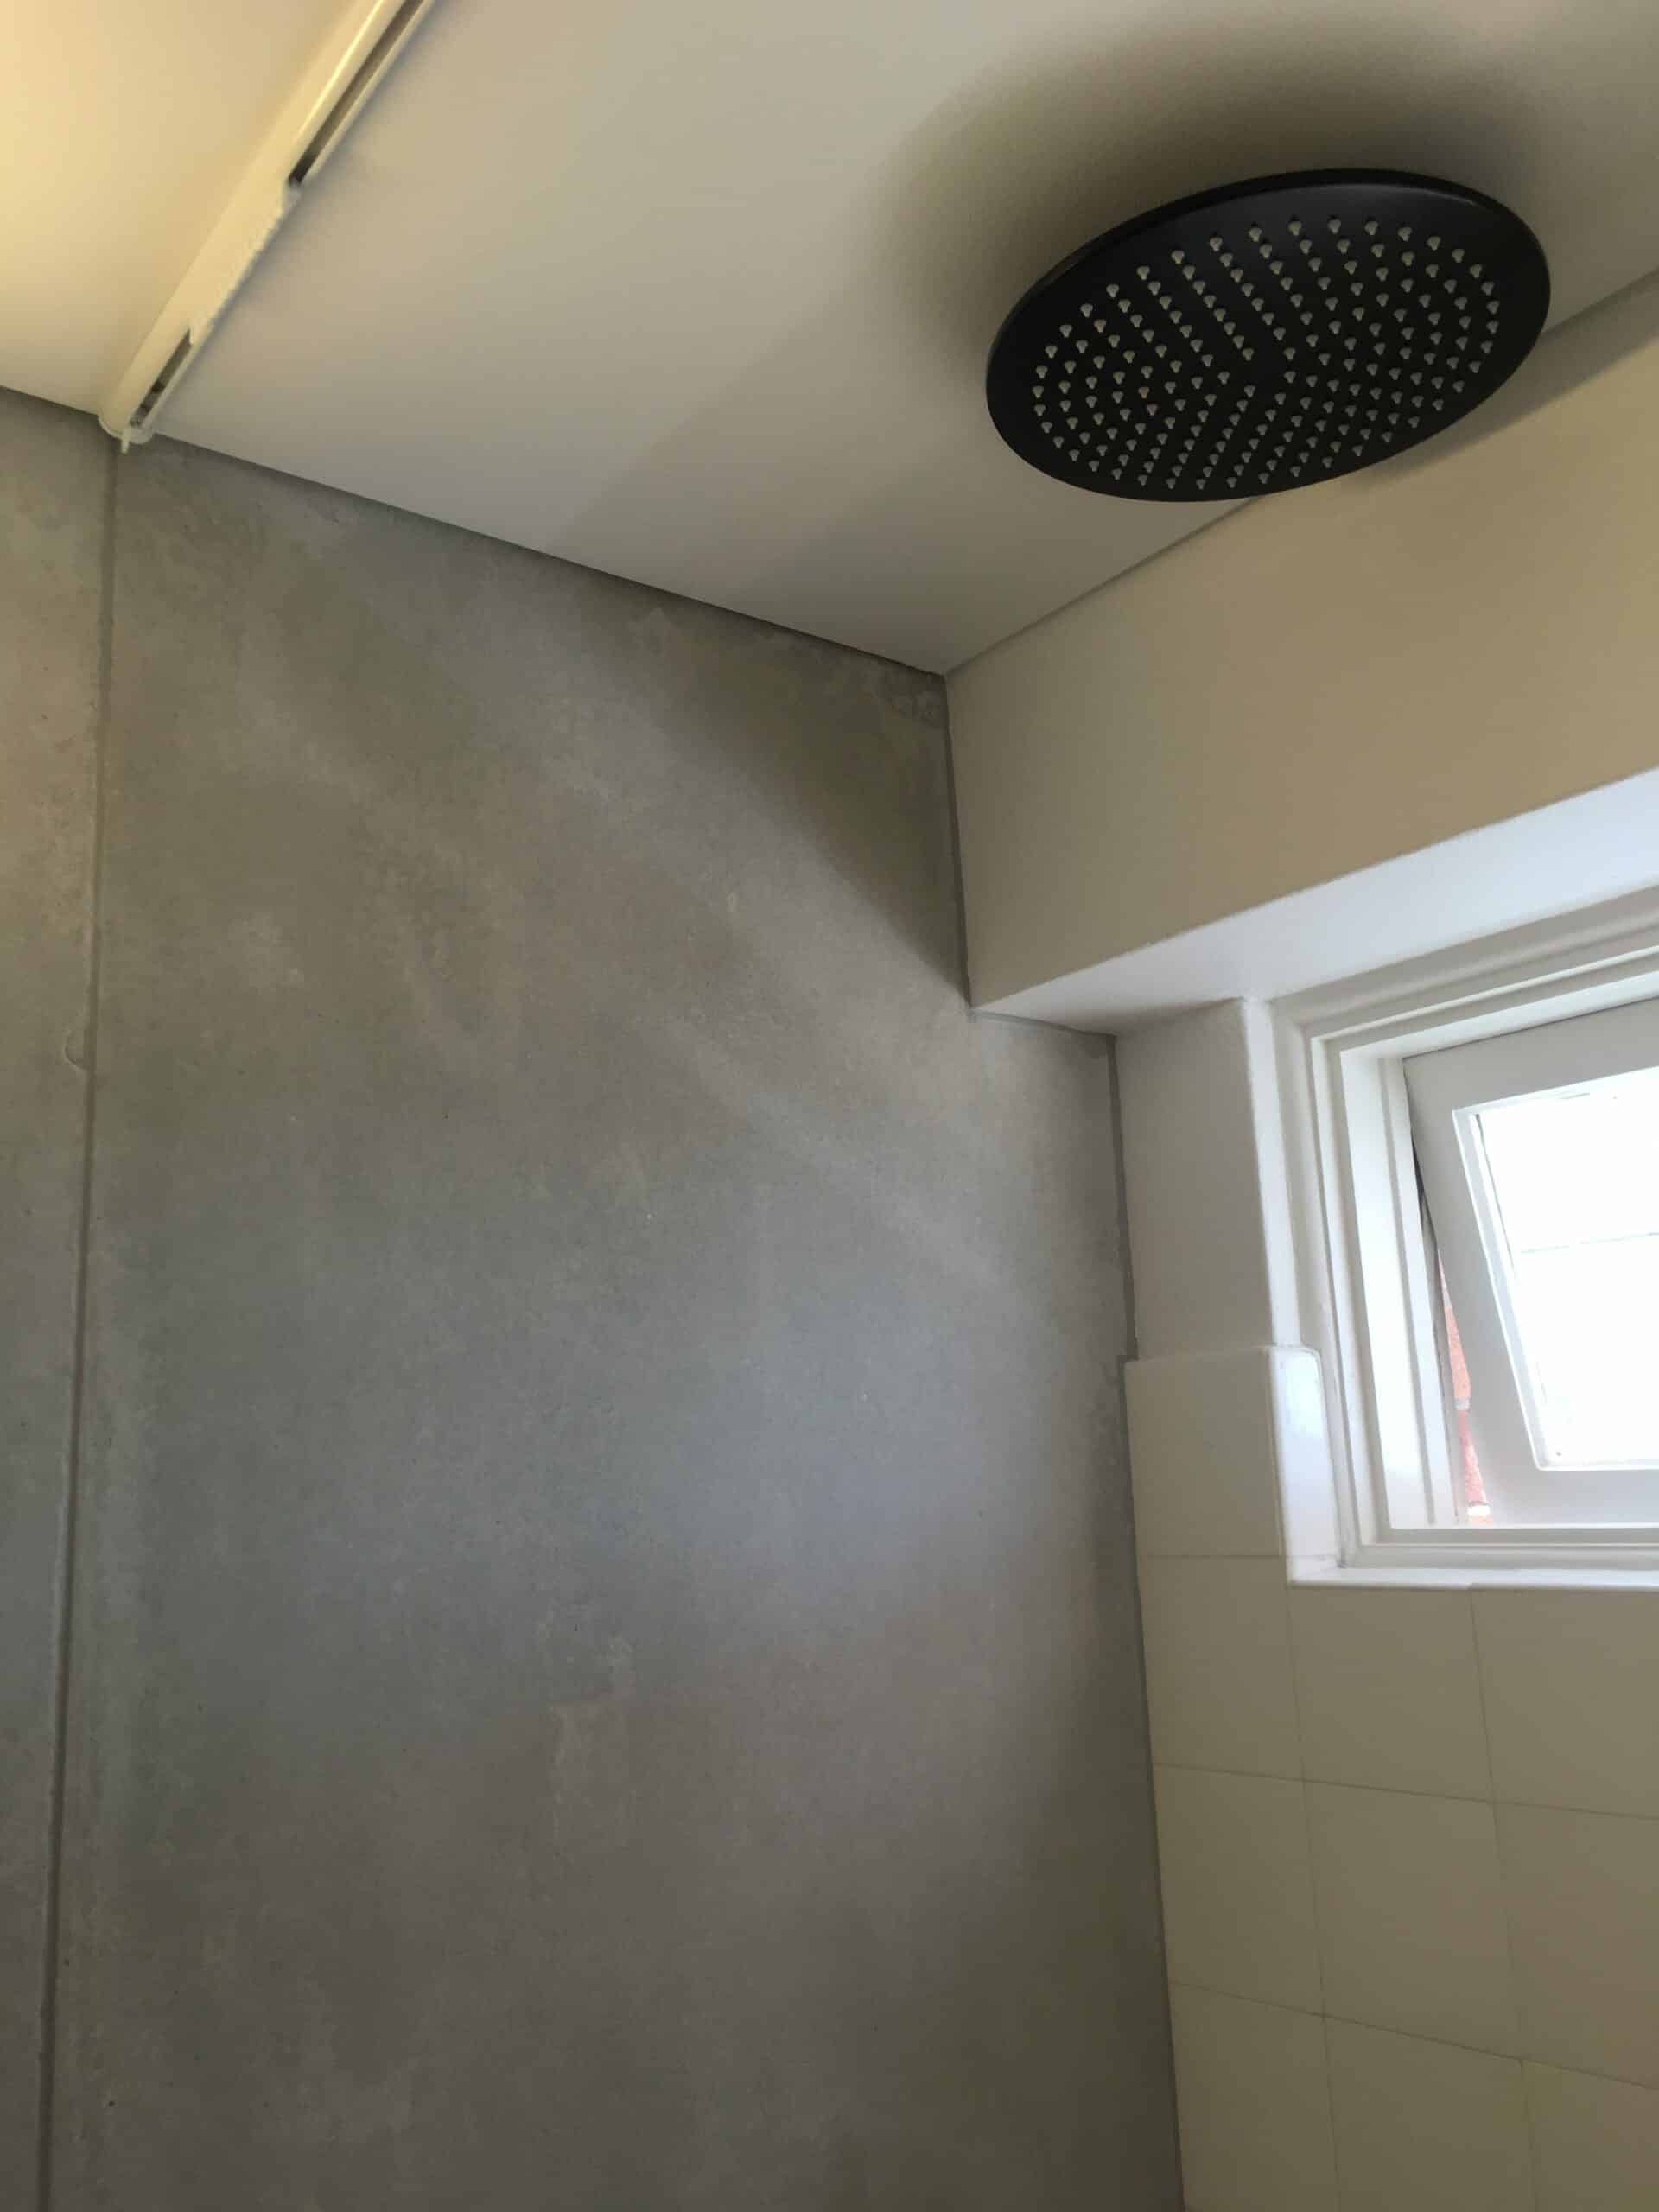
Clear Waterproofing Membrane is a clear waterproofing membrane. When applied over sub straights, it creates a water tight finish that meets the Australia Standard requirements for a water-resistant finish and removes design limitations.
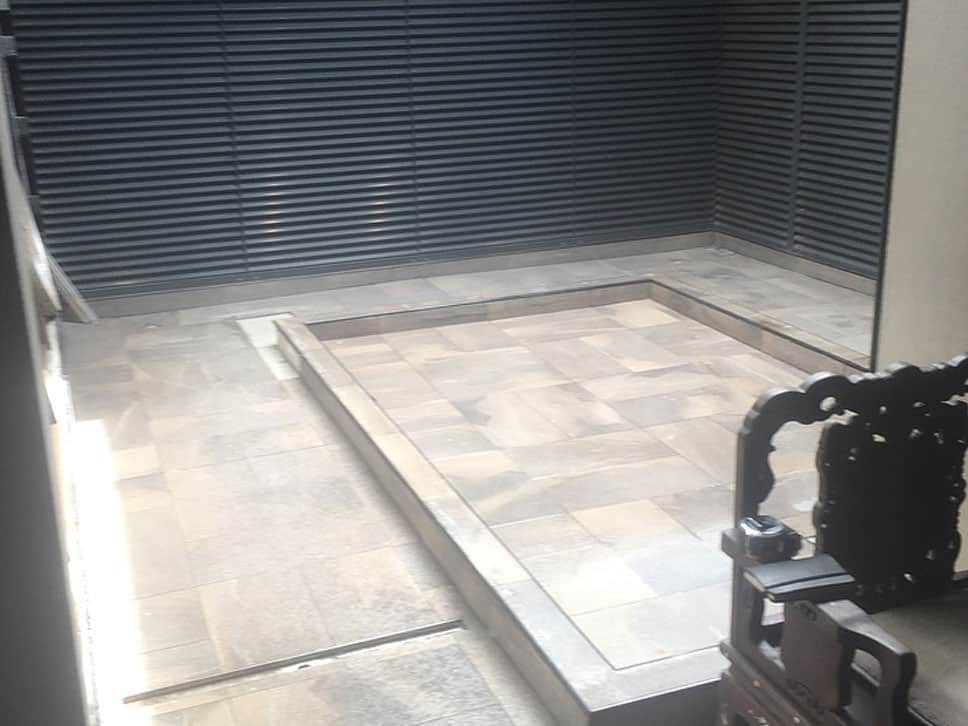
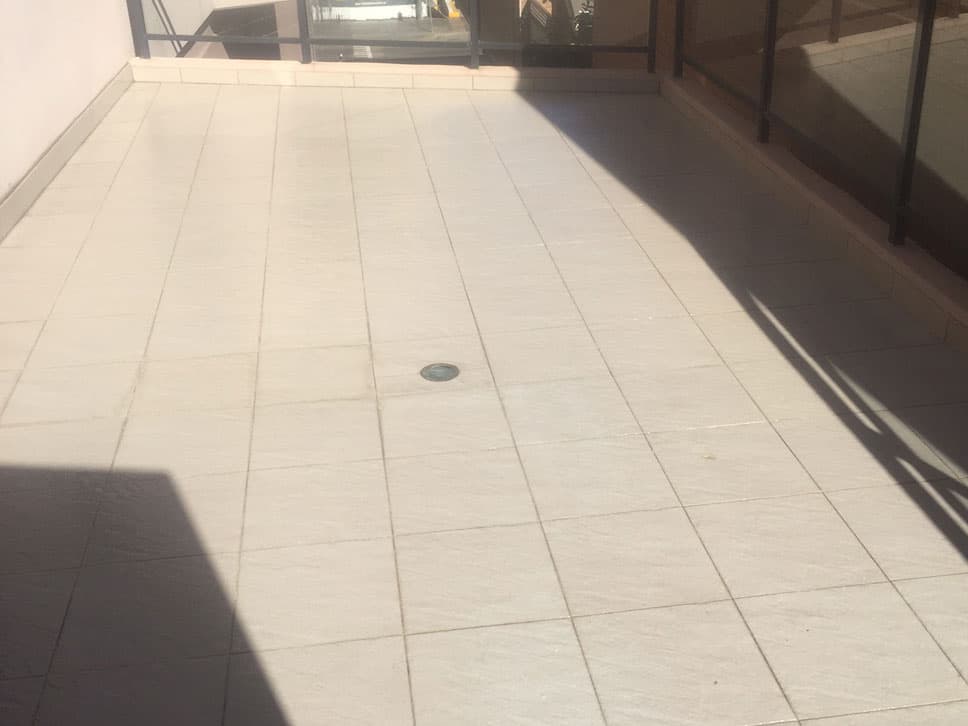
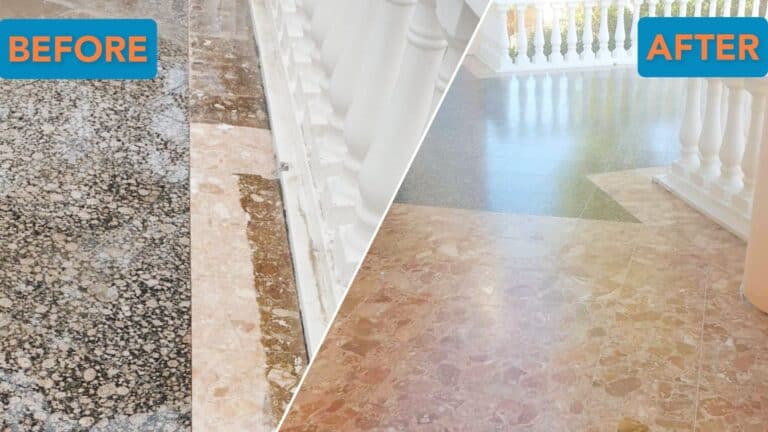
The Burwood Hotel’s open courtyard was leaking and in need of repairs. But due to circumstances, it was inconvenient to rip it up and replace. Instead, Clear Waterproofing Membrane was installed.
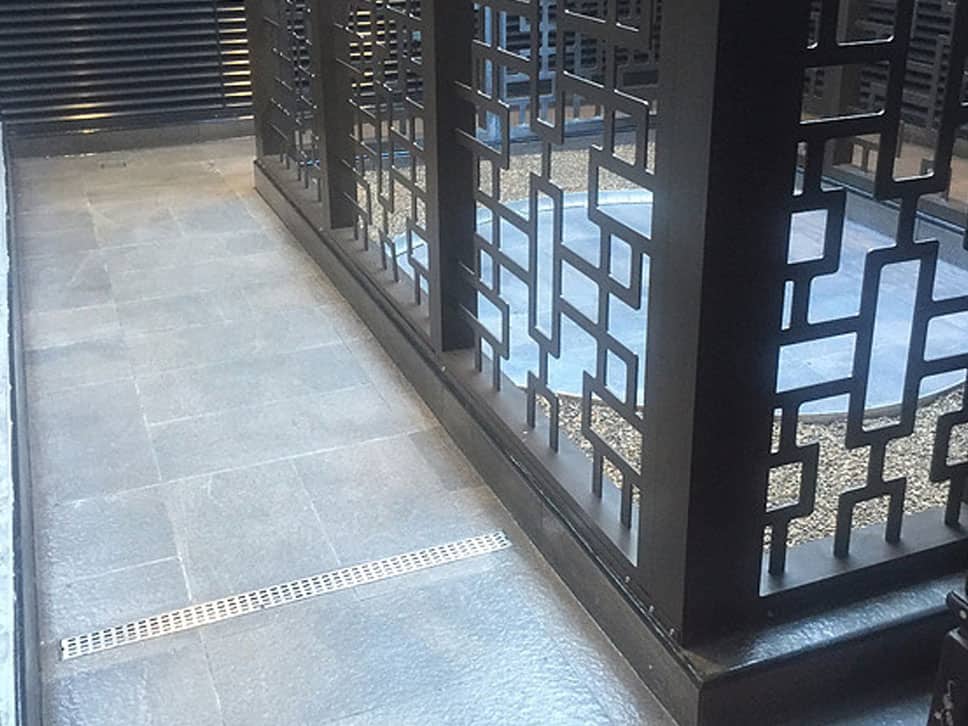
The Burwood Hotel’s courtyard after Clear Waterproofing Membrane was applied.
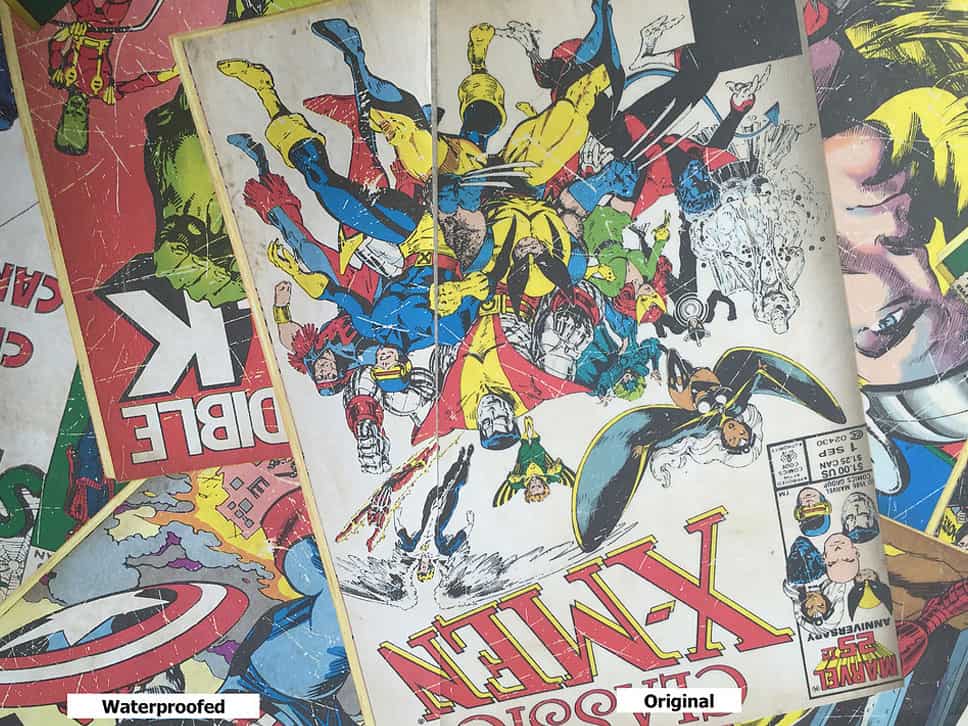
Single sheet wallpaper with waterproofing on the left and untreated for comparison on the right.
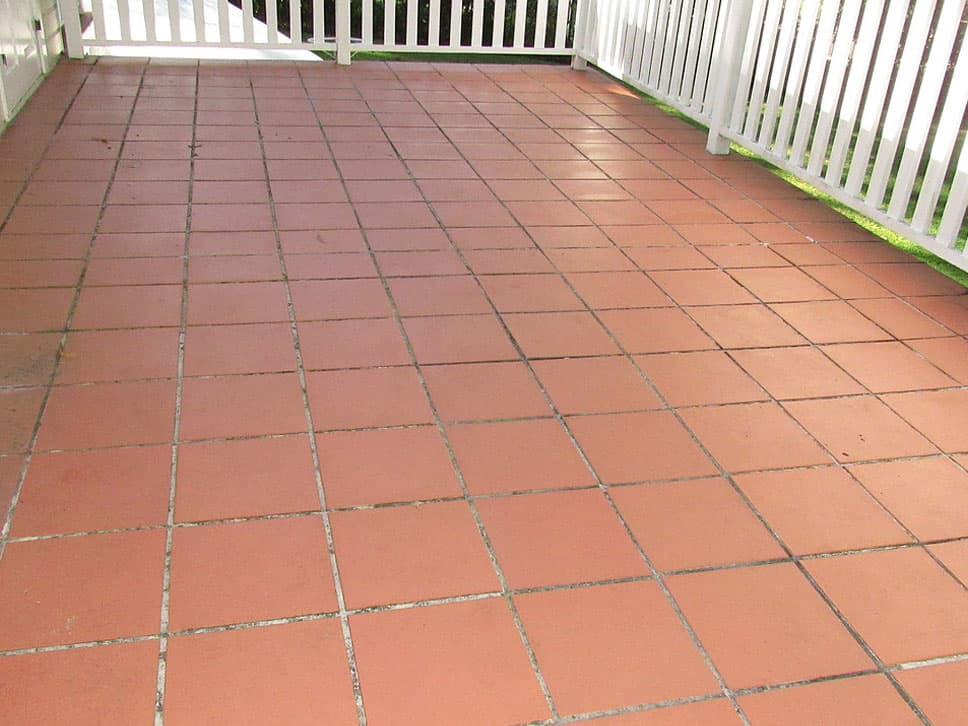
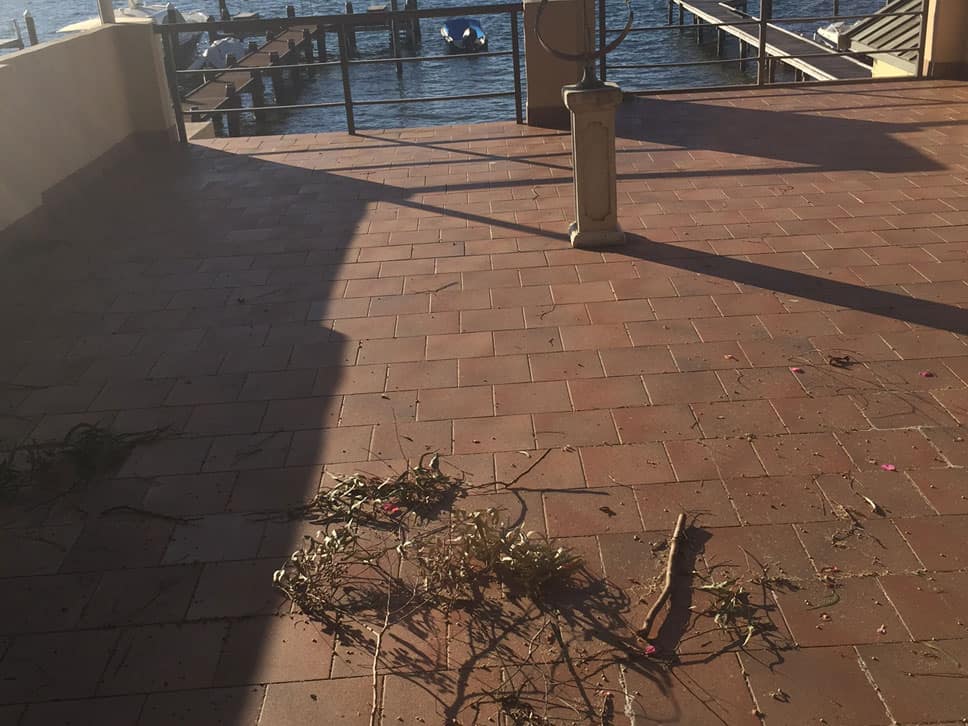
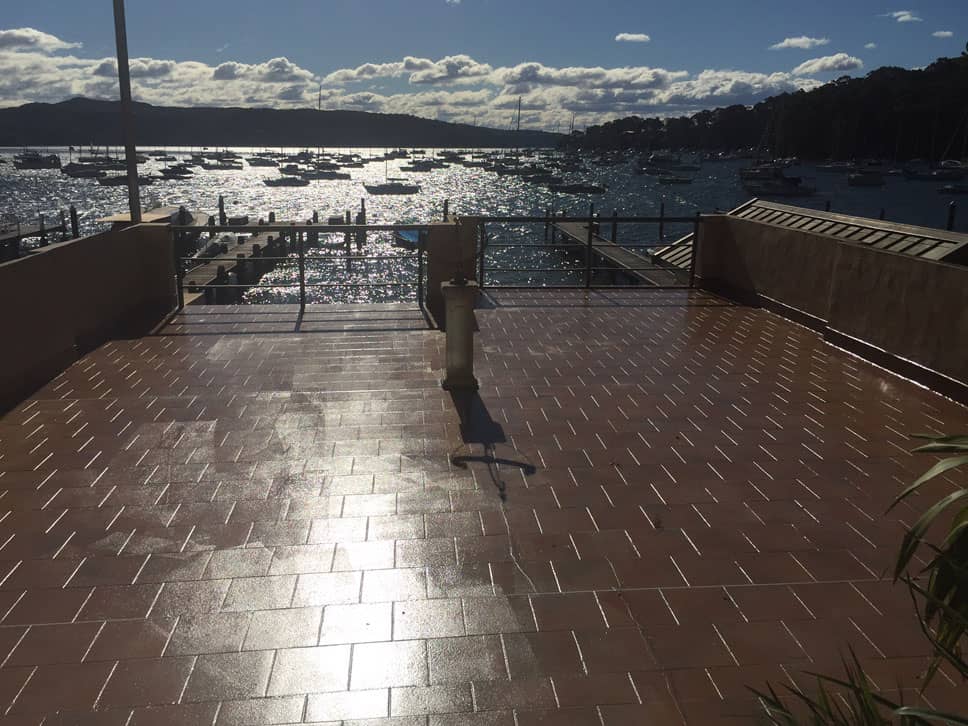
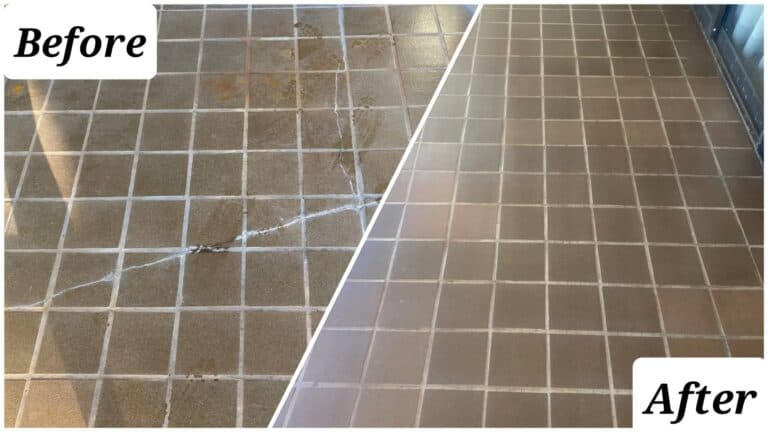
This Terracotta balcony was leaking from no visible location and causing damage below. The solution: Clear waterproofing the entire area.
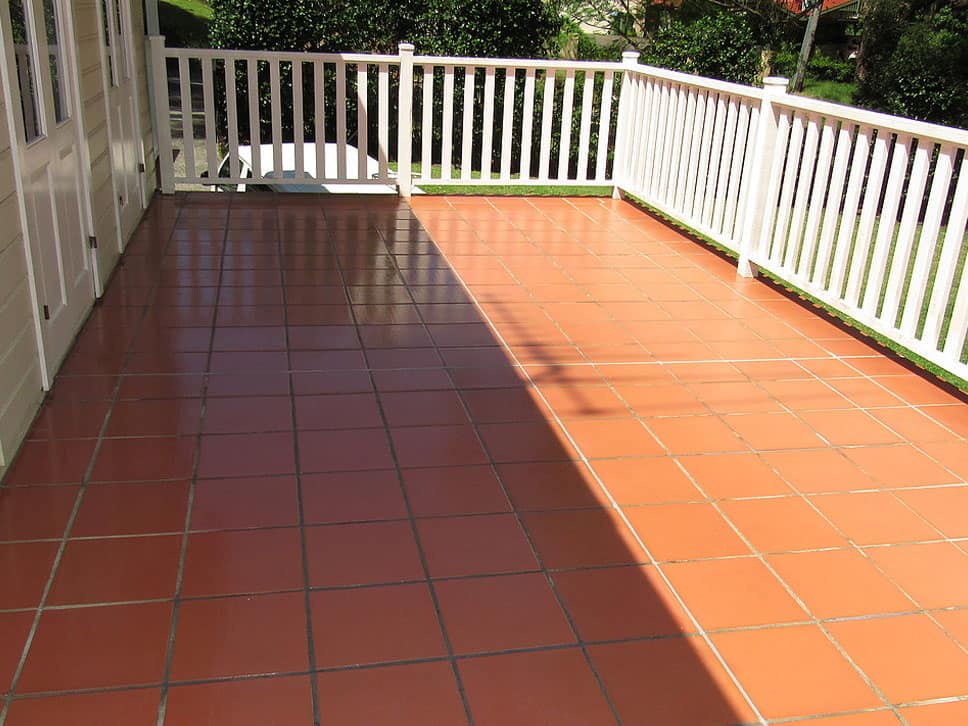
By applying Clear Waterproofing Membrane over the leaky balcony, we were able to fix the leaks, even though the former source was unidentified.
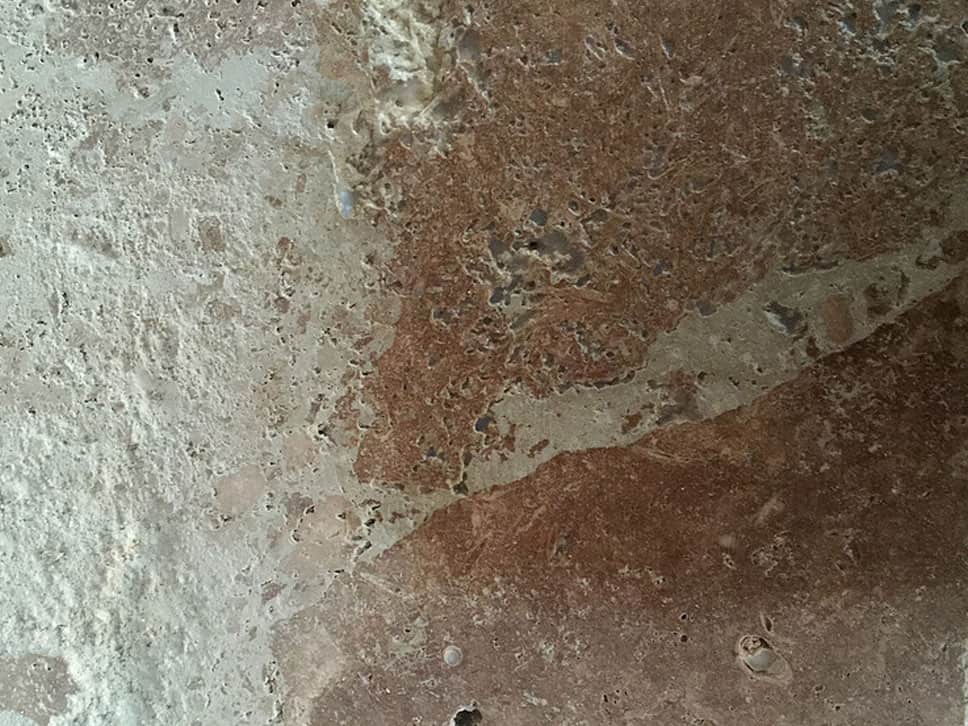
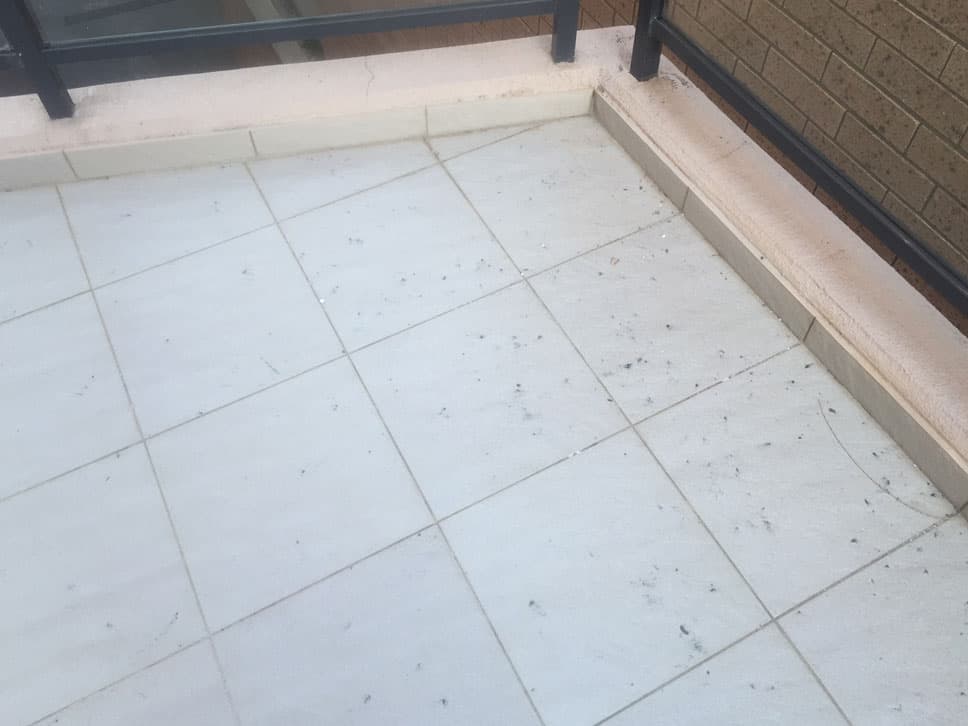
Sample of Clear Waterproofing Membrane on right hand corner.
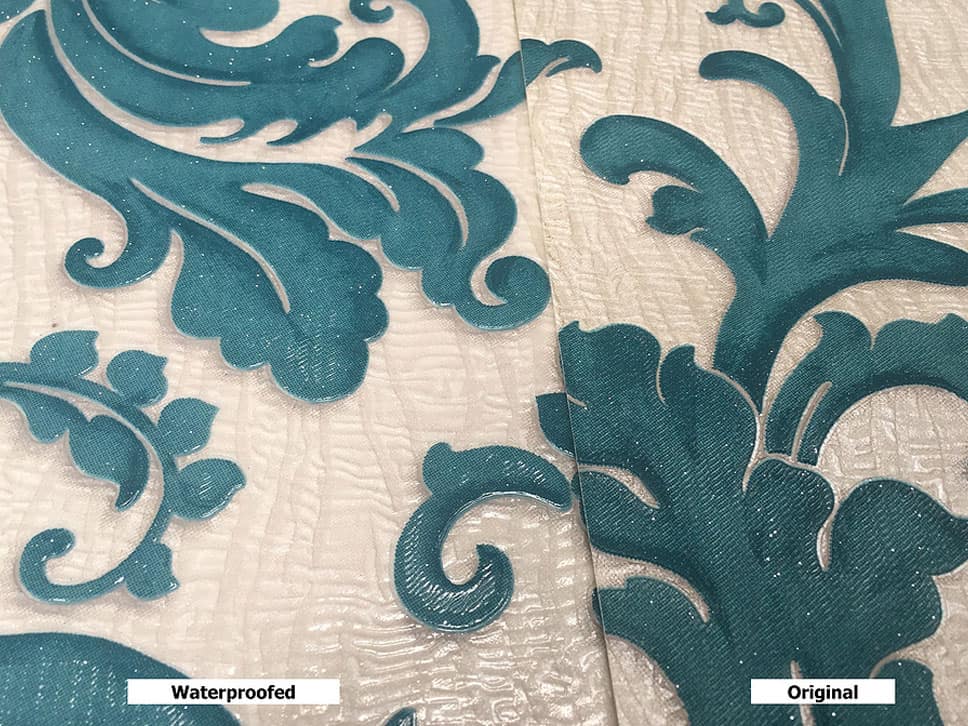
Contoured wallpaper with waterproofing on the left and the original for comparison on the right side. If you look closely, you will notice that none of the sparkles have been dulled after waterproofing was installed. They are glistering as ever!
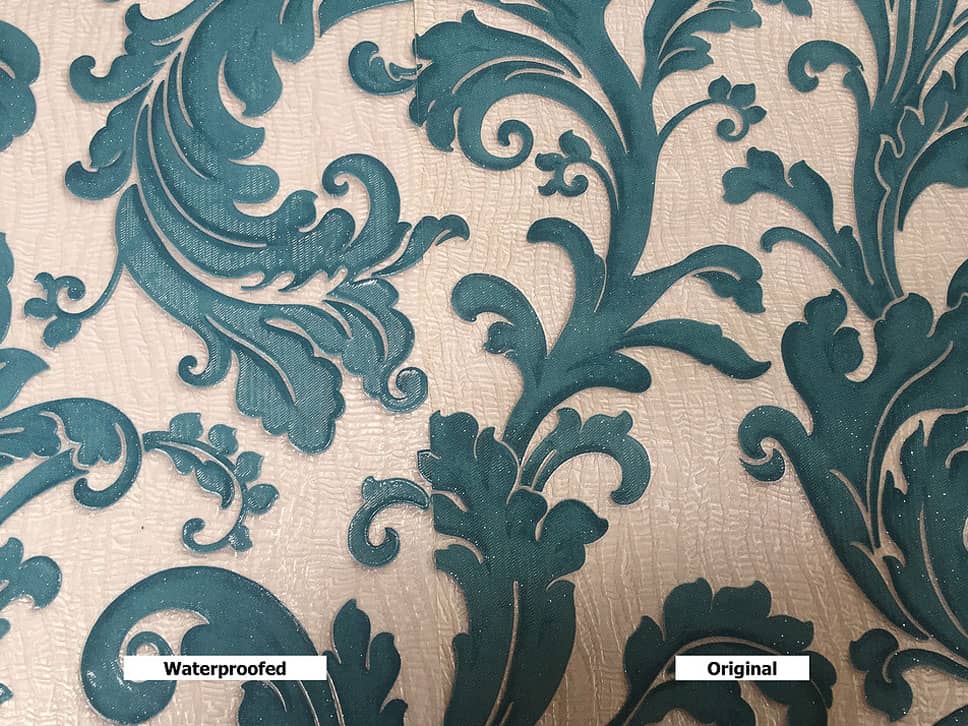
Contoured Wallpaper with waterproofing on the left and the original for comparison on the right side.
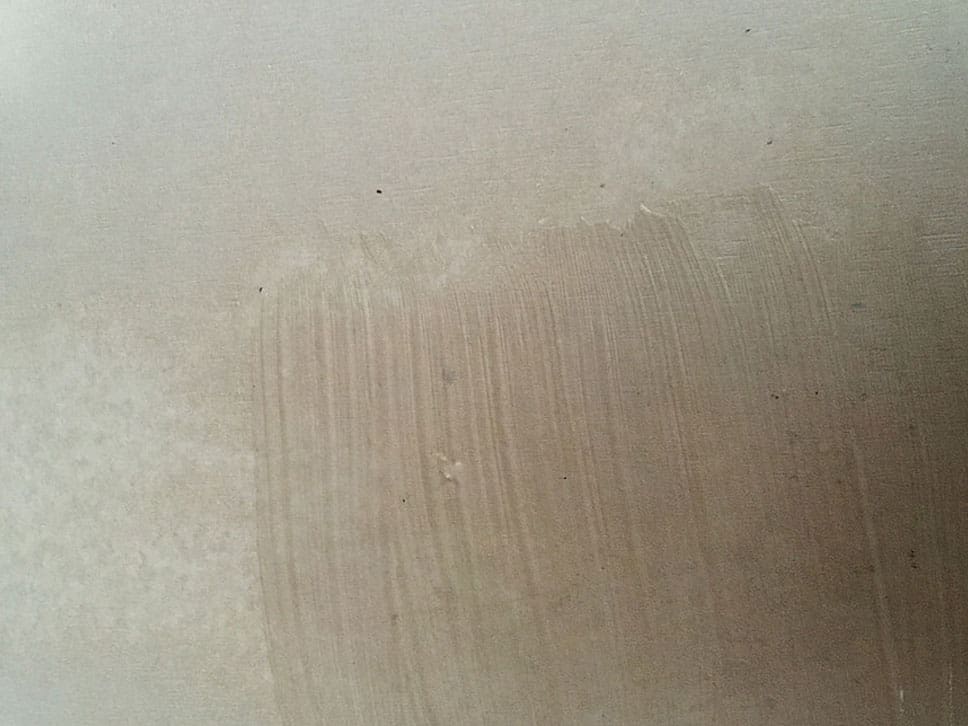
Clear Waterproofing Membrane in bottom left hand corner.
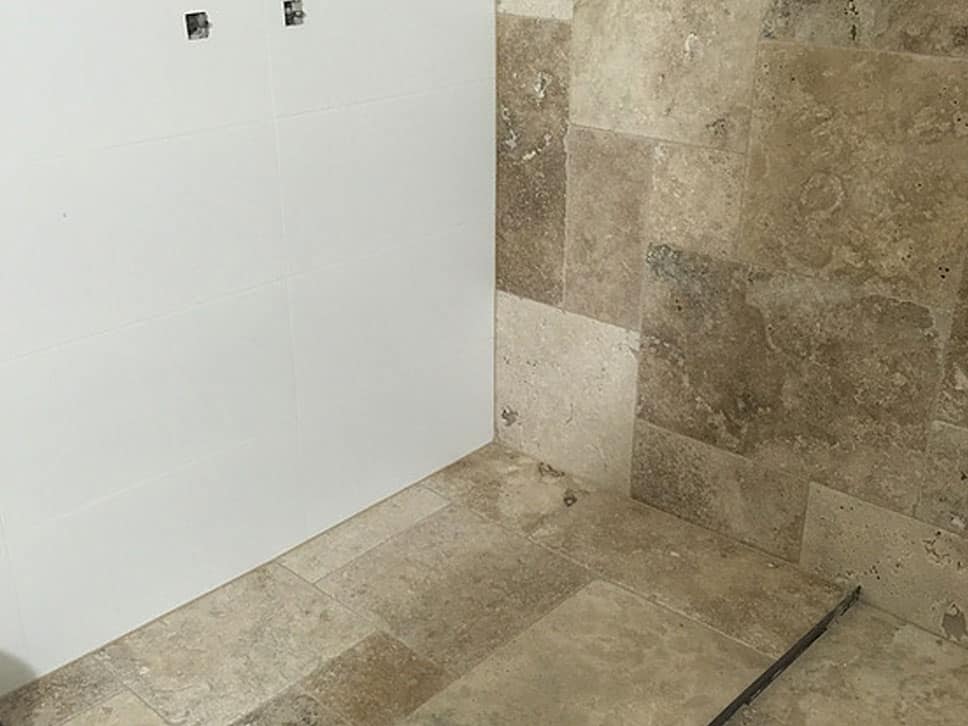
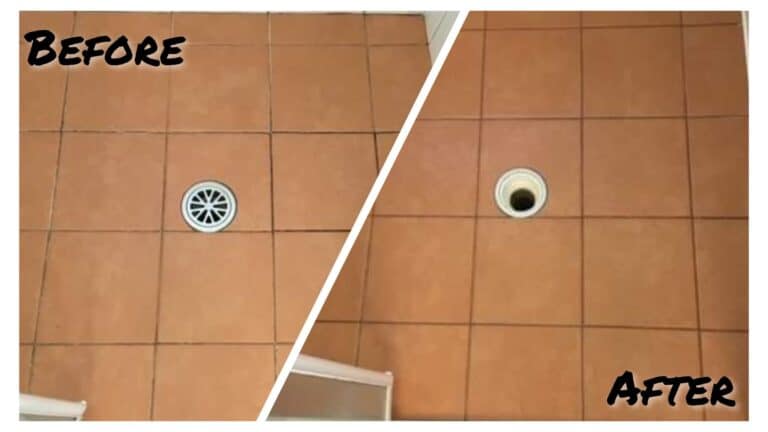
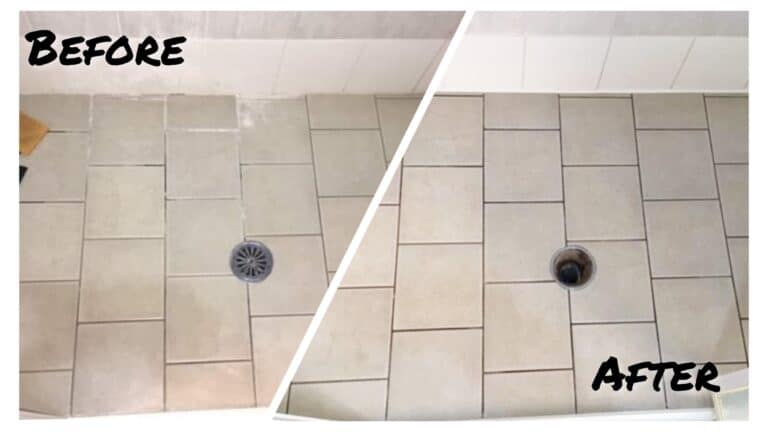
New shower before waterproofing was applied.
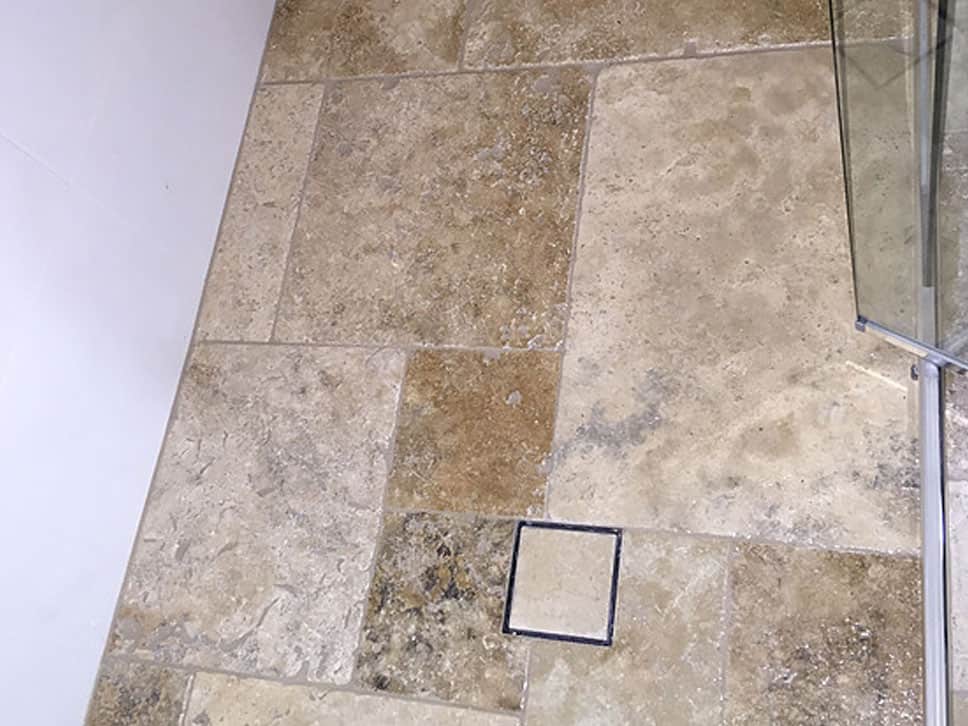
New shower after Clear Waterproofing Membranes is applied.
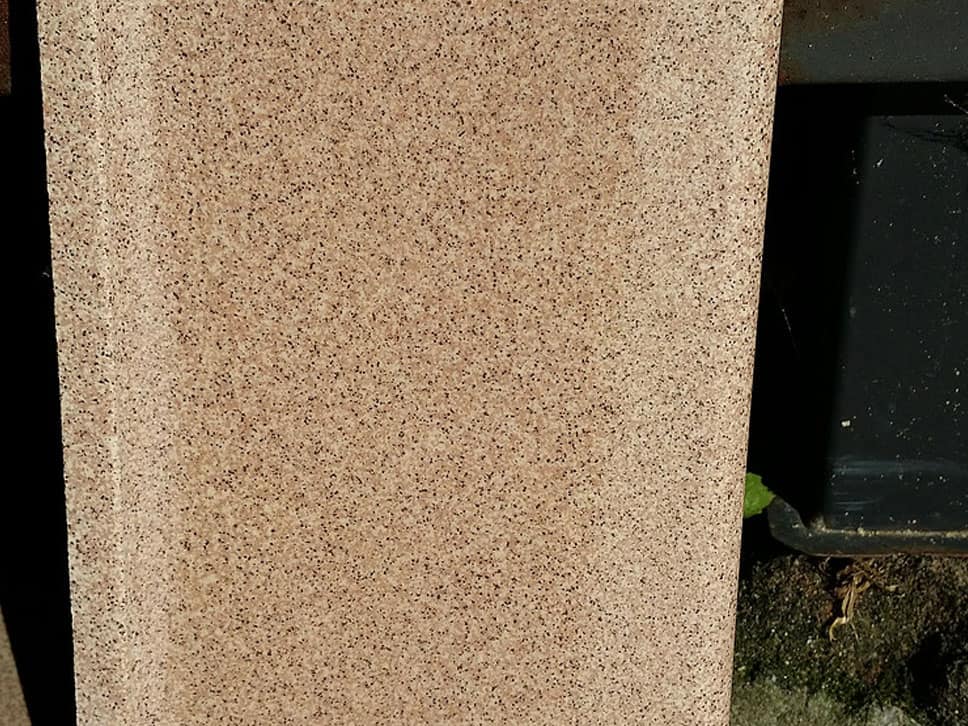
External tile with matt finish. Remedial Membranes’ Clear Waterproofing Membrane is applied to the center of tile.
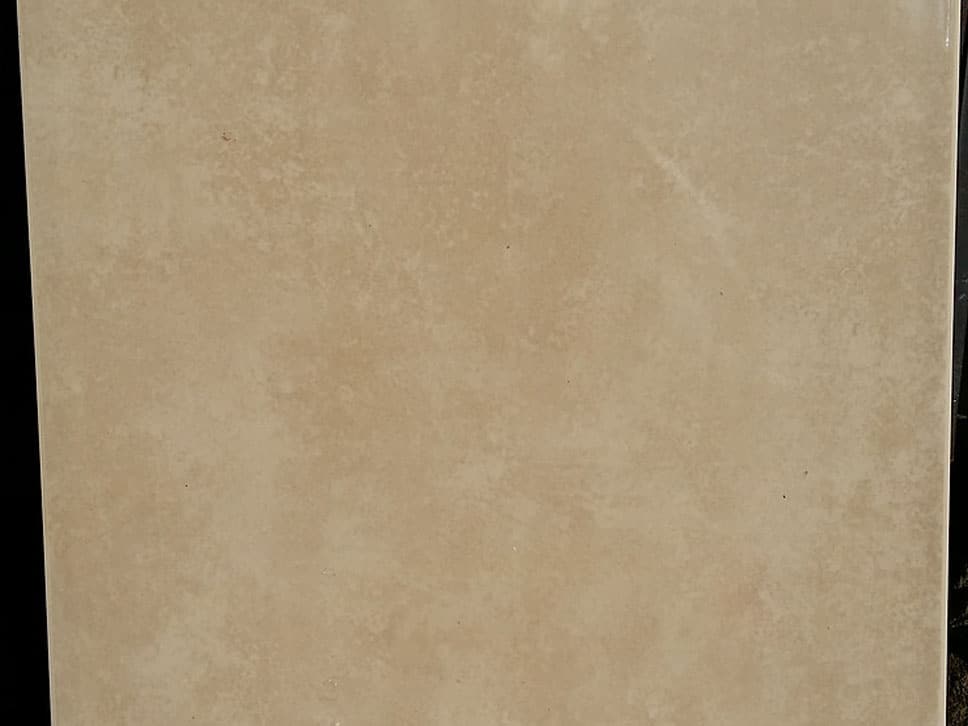
Internal gloss tile with CWM applied to right-hand side.
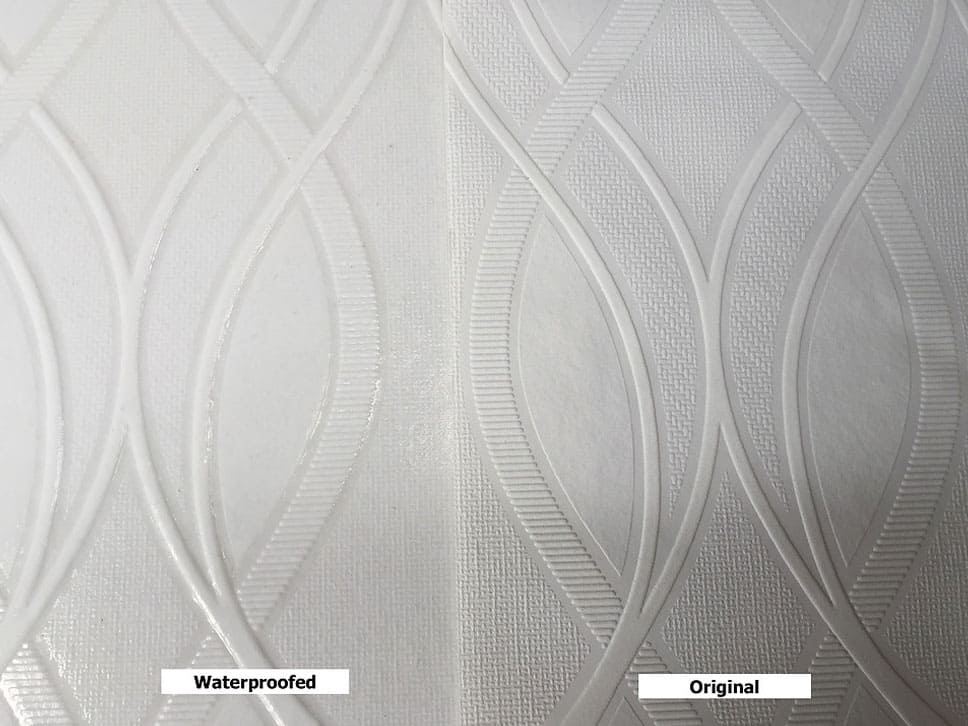
Paintable wallpaper with waterproofing on the left side and the original for comparison on the right.
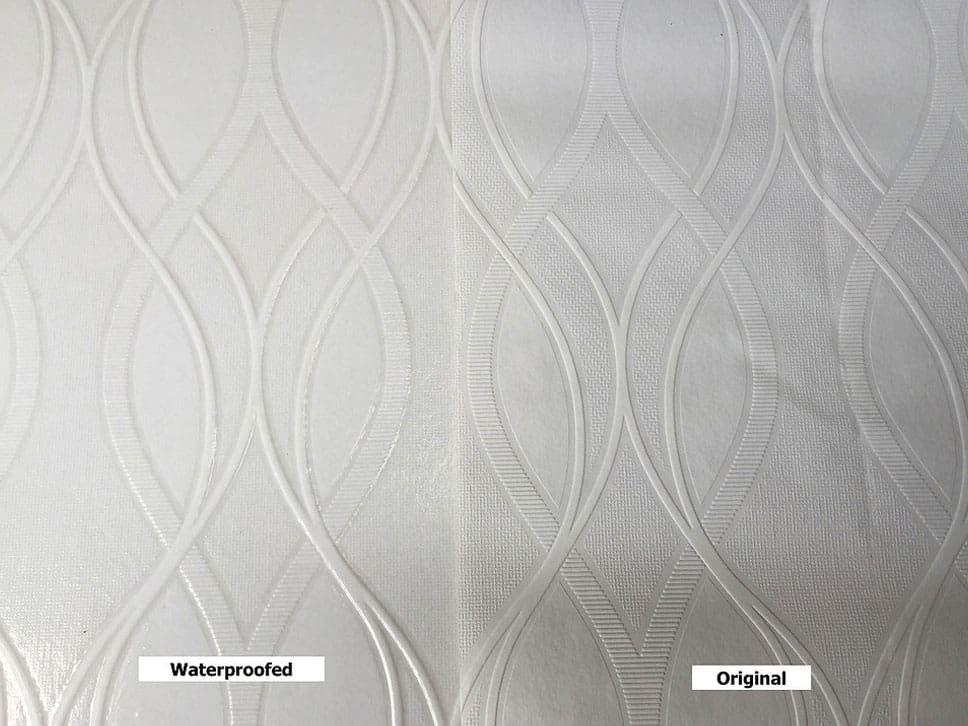
Paintable Wallpaper with waterproofing on the left side and the original for comparison on the right.
